In this section:
Overview
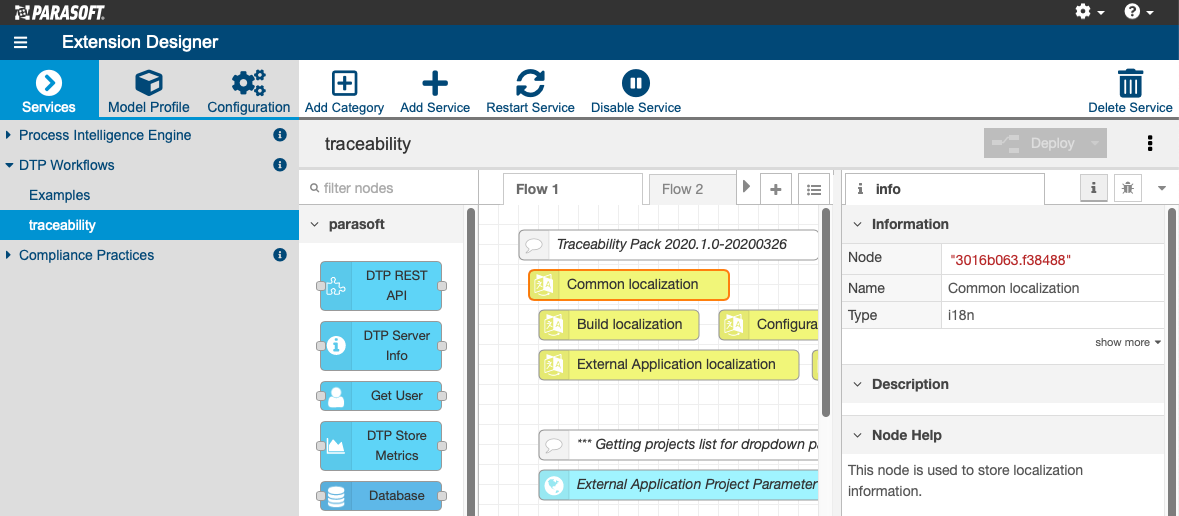
Flows are one or more nodes that can perform specialized tasks (see Working with Nodes). Flows are grouped into services to more evenly distribute data processing across endpoints, which results in more stable execution (see Working with Services for instructions on creating services).
There are a few ways to create flows:
- Drag nodes from the parasoft palette on the left into a tab and configure them manually. Different types of nodes have different configuration options. Double-click a node to open the editor and view its functionality.
- Import components, examples, and other pre-built flows into the tab and modify them according to your needs (see Importing and Exporting Flows).
The tabs are a construct for visually organizing flows. You can click the + icon to add more tabs if the tab you're working on becomes difficult to work with. All flows added to the a service will execute when the service is deployed.
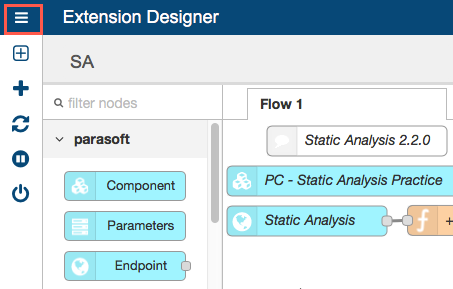
You can also minimize the Extension Designer sidebar and use the navigation buttons on the bottom of the tab to zoom out and increase overall visibility.
Creating Flows
You can manually build flows or import prebuilt flows into your service.
Manually Creating Flows
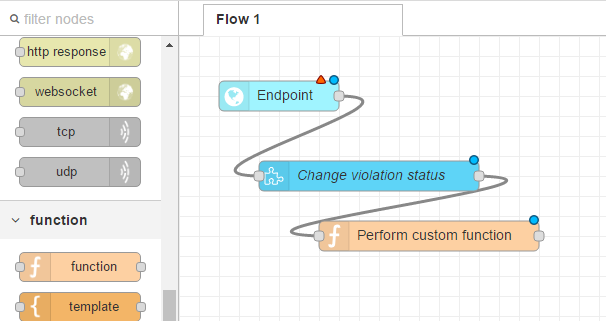
- Click and drag nodes from the parasoft palette on the left into the tab.
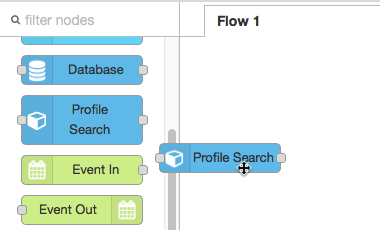
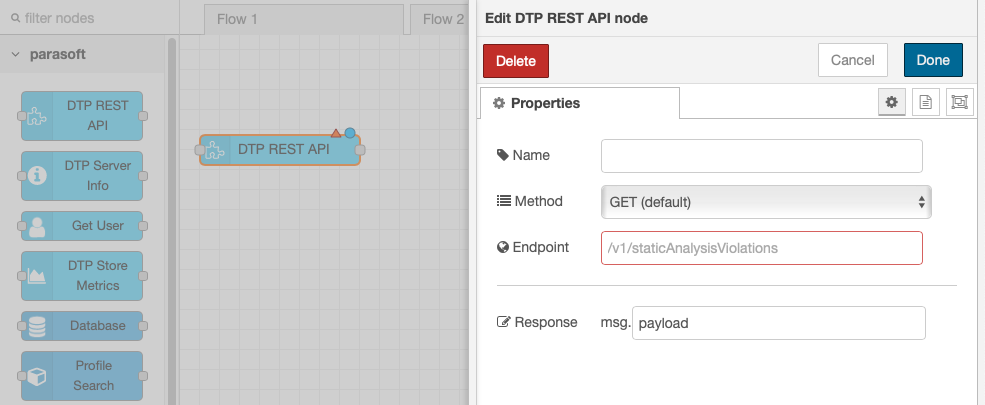
- Double-click on the node to open the node editor and configure the node. Different types of nodes have different configuration options, which are documented in the node Info tab. See Working with Nodes.
- When nodes have been added to the tab, you can click and drag input/output points between nodes to chain together their functions into a flow. Flows are stored using JSON for easy sharing and versioning.
You should use Debug nodes to verify functionality as you create your flows. See Debugging Services and Flows.
Importing and Exporting Flows
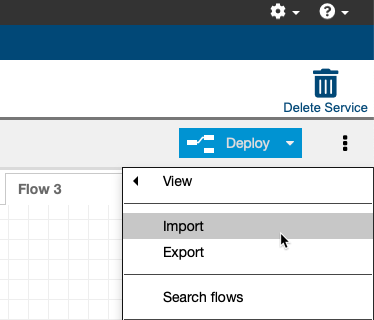
- Choose Import from the vertical ellipses menu.
- The Library tab of the Import nodes dialog contains example components shipped with Extension Designer, as well as extensions you may have installed (see Downloading and Installing Artifacts). Select a flow and click Import.

- Click on an area in the tab to drop the imported item.
- Configure the nodes in the imported flow according to your needs (see Working with Nodes). You should use Debug nodes to verify functionality as you create your flows. See Debugging Services and Flows.
- Click Deploy to activate the flow (see Deploying Services).
You can also export a workflow/slice you created as JSON to your OS clipboard or to your artifact library.
Using the Clipboard
You can export the contents of a tab to the clipboard and import to the contents of the clipboard to another tab.
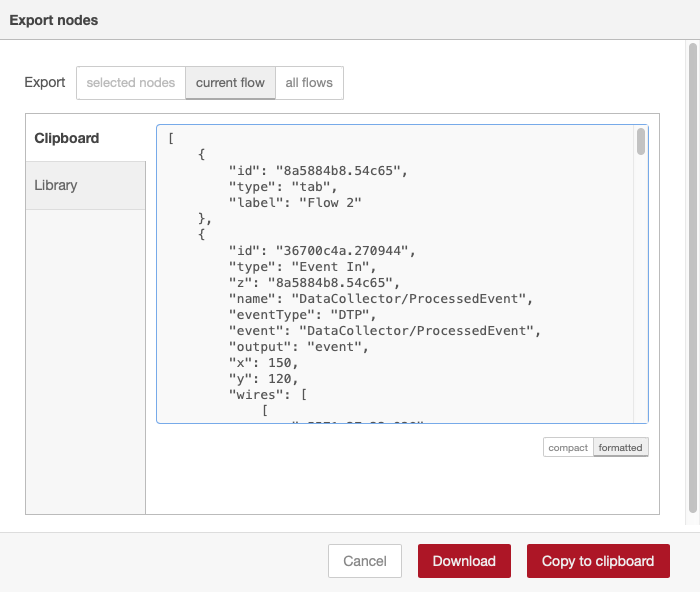
- Click on the tab that contains the nodes/flows you want to copy and choose Export from the ellipses menu.
Click the Clipboard tab and click Copy to clipboard. Alternatively, you can export to a folder in the Extension Designer library or download the contents as a JSON file.
Export Flows to Your Own Directories
Flows exported to any of the library directories shipped with Extension Designer (Common, Components, Examples, etc.) will not be restored during a restore or upgrade process.
- Click on the + button to open a blank tab and choose Import from the ellipses menu.
- Click the Clipboard tab and use your OS paste keyboard command to paste the contents of the clipboard to the flow (Control + v for Windows or Command +v for macOS). If you exported to your library, click the Library tab and choose exported nodes/flow. If you exported and downloaded the nodes/flow as a JSON file, click select a file import.
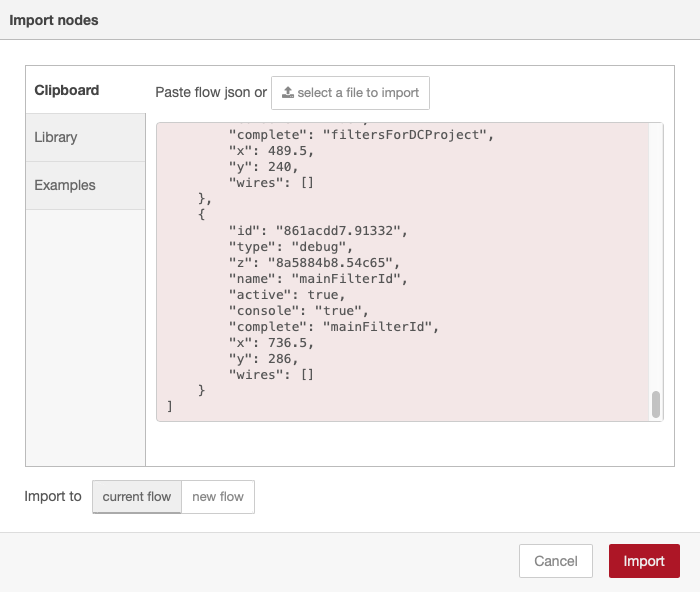
- Click Import.
About the Artifact Library
Artifacts that have been downloaded and installed are stored for use in the Extension Designer library. In addition to storing artifacts, the library also includes commonly used flows, examples, and other building blocks to help you quickly build custom flows and understand how Extension Designer works.
Artifacts are organized into category by type:
- DTP Workflows are stored in the Workflows folder
- PIE Slices are stored in the Process Intelligence folder.
Additional flows shipped with Extension Designer are organized into the following folders:
- Examples: Contains built-in example flows.
- Workflows: Contains the artifacts you have dowloaded and installed.
- Sample Widgets: Contains sample widget flows for reference.
Disabling Flows
You can disable a flow to prevent its endpoint from being called. Widgets associated with the flow are also unavailable in DTP. If a widget has already been deployed to DTP, the widget will show a "No permission or deprecated" message.
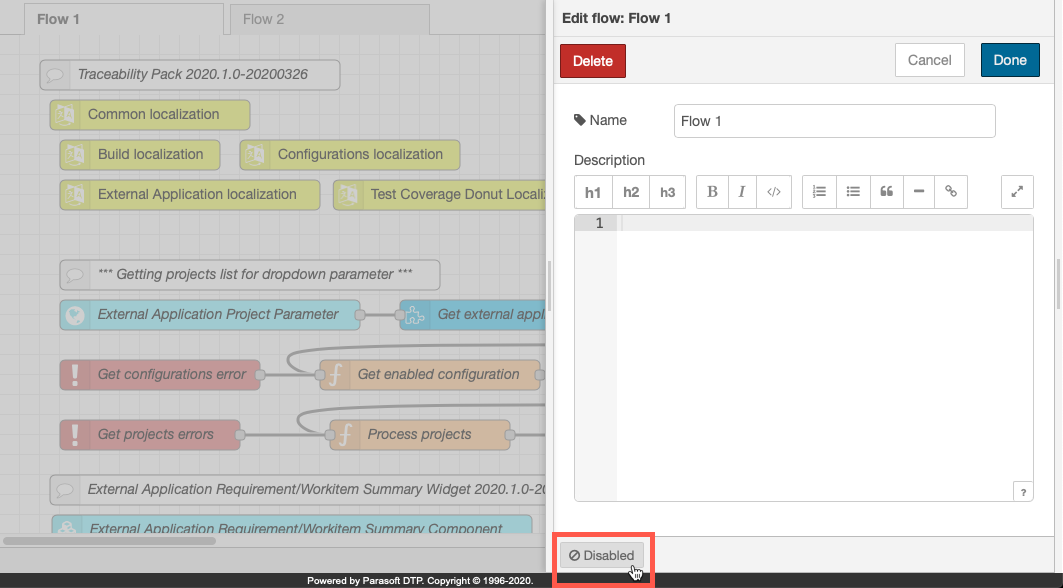
- Open a service and double-click the tab containing the flow you want to disable.
- Click the Disabled/Enabled button to enable/disable the flow and click Done.
- Click Deploy save the changes to your flow.
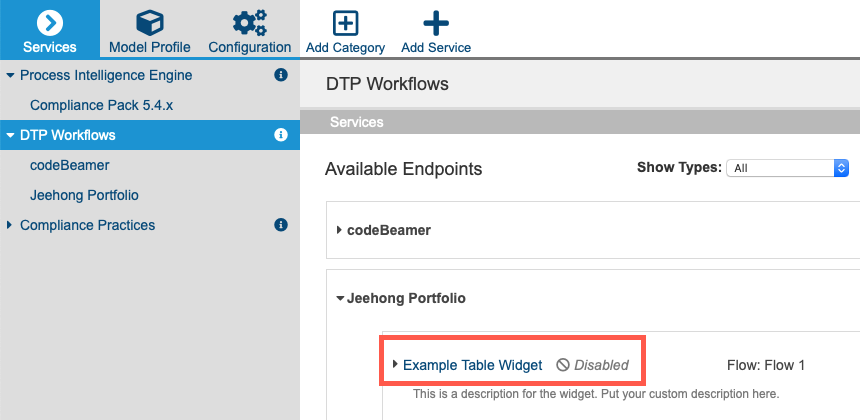
To verify that the flow and its endpoint is disabled, click on the service category and expand the Available Endpoint page to the disabled flow.
Next Steps
When flows have been added to your service and configured, you can click the Deploy button to make them available to DTP. See Deploying Services for details.