In this section:
| Table of Contents | ||
|---|---|---|
|
Overview
Hierarchical data sets are added to the Test Data module when transactions are recorded and added to the database during testing. You can also use the Data Repository Tool to manually import data directly into your repositories. The Test Data interface enables you to review and modify the data so that it can be used across testing scenarios.
Important Concept and Terminology
See About the Data Repository for definitions of terms used in this section.
Main Toolbar
The main application toolbar contains functionality associated with the data repository, but additional functionality may appear in the toolbar depending on the current view.

You can perform the following actions in the main toolbar.
- Click Export to create a copy of the selected data repository that can be downloaded from the main page of the Data tab. See Creating and Managing Repositories.
- Click Lock prevent other users from making changes to the selected repository. See Locking and Unlocking Repositories in CTP.
- Click Refresh to load changes made on a connected application.
- Click Data Set to begin manually adding a new data set to the selected repository. See Manually Creating a Data Set.
- Click Delete to delete the selected repository. See Creating and Managing Repositories.
Data Repository View
Click on a repository in the Data tab to open the data repository view.

You can perform the following actions in the data repository view.
| Table of Content Zone | ||||||
|---|---|---|---|---|---|---|
| ||||||
Manually Create a Data Set
The data set will be added to the repository page. See Add and Modify Data for next steps. Download Data Sets and Record TypesYou can download the data set or record type as a JSON file.
Delete Data Sets and Record TypesChoose Delete from the ellipses menu and confirm that you want to remove the data set or record type when prompted. If the data set contains record types that do not reference or are not referenced by another component, you can enable the Delete orphaned record types option to ensure that the data set is completely removed. This option does not apply to record types. Open the Data Record ViewClick on a data set in the Data Sets column to open the Data Record View. |


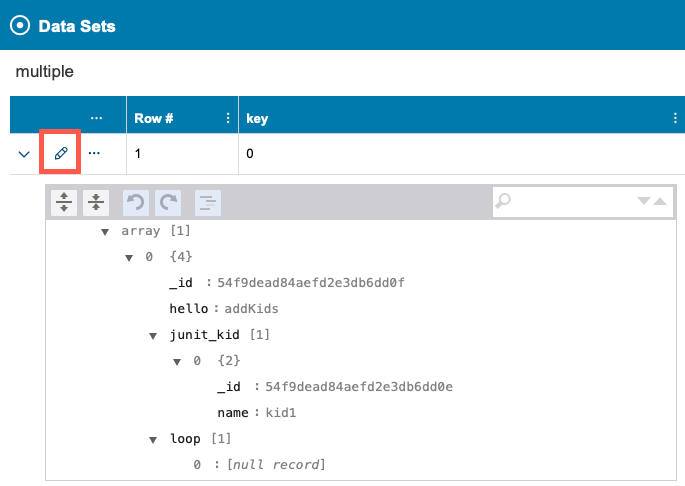
Data Record View
The data record view is the interface for modifying data. Click on a data set from the data repository view to access records.

You can perform the following actions.
| Table of Content Zone | |||||||||||||||
|---|---|---|---|---|---|---|---|---|---|---|---|---|---|---|---|
| |||||||||||||||
Use the Data Sets Toolbar
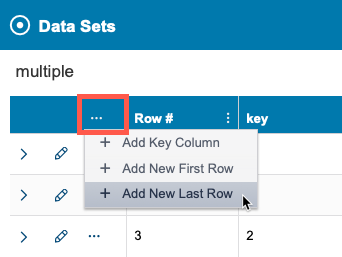
Add and Delete Rows and ColumnsClick on the ellipsis menu in the data set header to add key columns, value columns, and to add first and last rows. New value columns are always added to the end of the table.
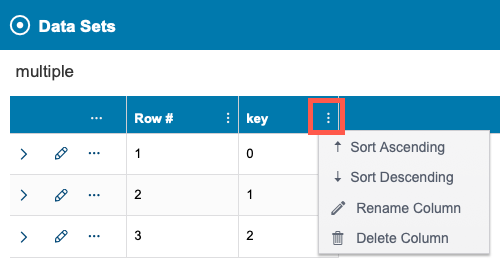
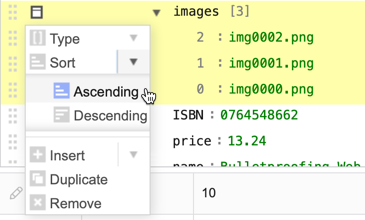
Click on the column actions menu to rename or delete the column. You can also sort how the data is presented by key column values. Sorting does not affect the structure of the data.
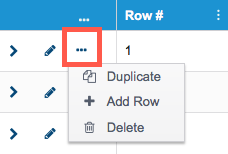
Click the row actions menu to add an inline row, duplicate the data row, or delete the row.
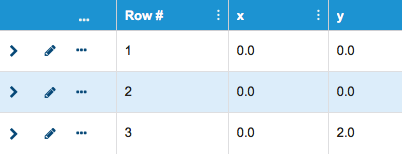
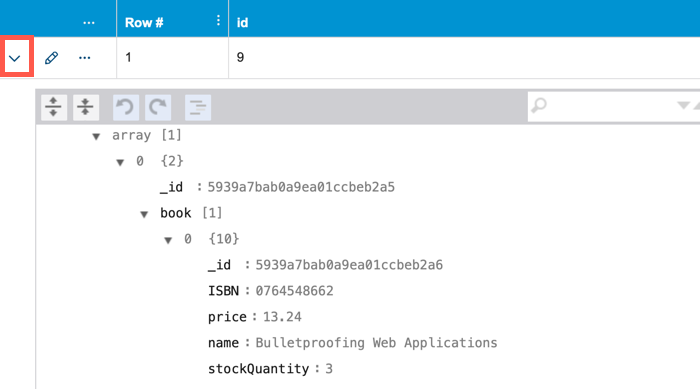
You can expand rows to view the data in the JSON viewer.
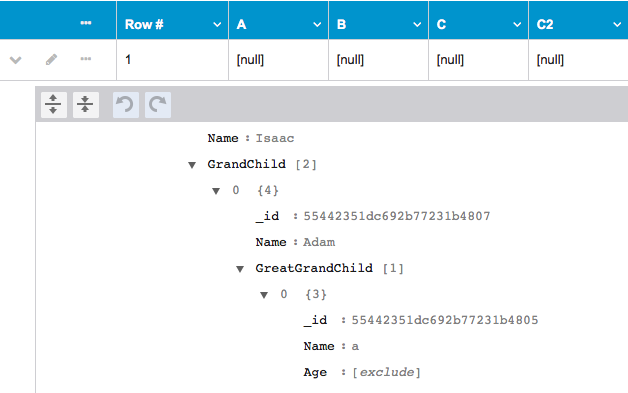
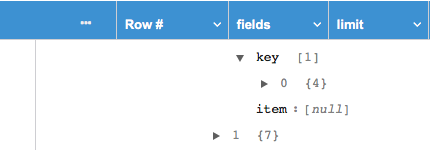
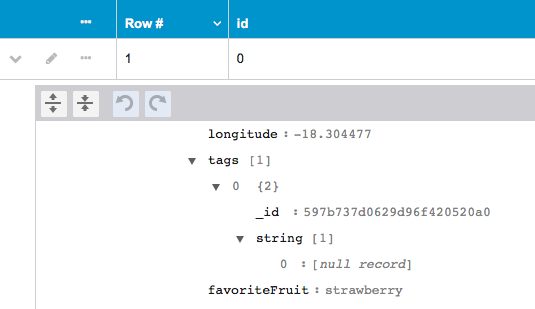
View Null and Exclude Fields
If a record list field is set to null/exclude, it is presented as an array of one item with the value If you want to set a field to null or exclude (so it will not appear in the message when an element is populated from this data source), use Modify DataYou can modify values and change the structure of the data set. Click the pencil icon to enable editing.
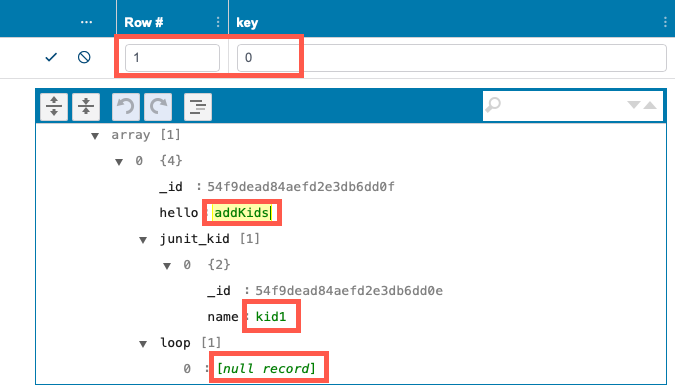
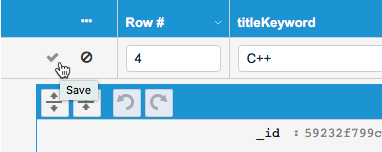
Editable values will become active. You can edit data key values in the table and primitive values in the JSON view editor.
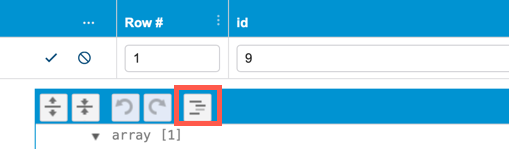
Click the Modify Structure button to make changes to the structure of the data.
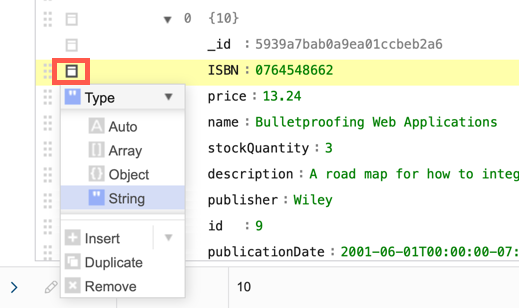
You can perform the following actions when Modify Structure is enabled:
Click Save when finished.
|


Creating a Data Set on Import
Only CSV and CSV-formatted files are currently supported for import.
- In the Data tab, choose a repository from the server menu and click the add data set button.
- Specify a name for the data set and a name for the record type name (optional).
- Choose the From CSV File option and click Next.

- Choose the file containing the data when prompted. The uploader detects column headers. By default, the encoding is set to UTF-8. The separator and quote characters are set also to common characters by default. If your file has a different encoding or uses different separator and quotation mark characters, change them in the drop-down menu.

(Optional) Configure how the data is imported. Click in a field in the File options and choose from the available settings. Enable the Trim spaces option to remove extraneous spaces from the data. You can designate a field as a key, value, or both. Keys enable message responders to find the correct row of data to construct responses.

- Click Create when finished configuring the data set. A task is to import the data will be added to the Test Data task queue (see Reviewing Tasks in Test Data). The data set may not appear on the repository or be available immediately. You can continue using CTP while the import task is being processed. A message will tell you when the import is finished.
- Click on the data set to edit the data. See Adding and Modifying Data.