In this section:
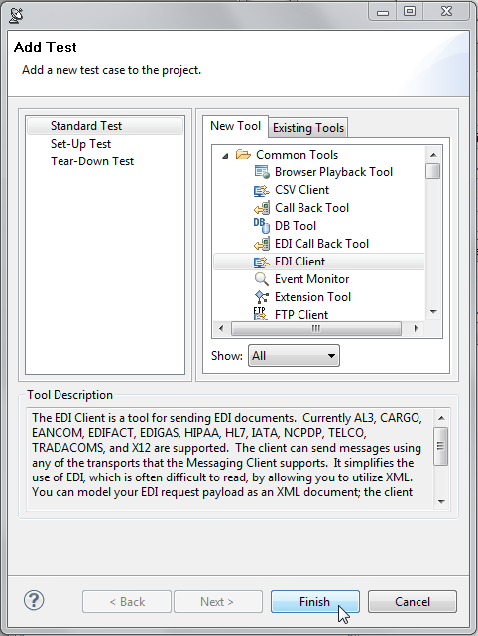
The EDI Client is a tool for sending EDI documents. Currently AL3, CARGO, EANCOM, EDIFACT, EDIGAS, HIPAA, HL7, IATA, NCPDP, TELCO, TRADACOMS, and X12 are supported. It simplifies the use of EDI, which is often difficult to read, by allowing you to utilize XML. You can model your EDI request payload as an XML document; the client then automatically converts the XML to EDI before sending the message. If the server returns an EDI message, the client can convert the message to XML so that you can attach tools such as the XML Assertor and XML Data Bank to the response.
Creating a New EDI Client
To create a new EDI Client:
- Create a new empty .tst file as follows:
- Choose File> New> Project.
- Select SOAtest> Empty Project, then click Next.
- Enter a project name, then click Finish.
- Create a new EDI Client as follows:
- Right-click the new test suite node, then choose Add New> Test.
- Select EDI Client, then click Finish.
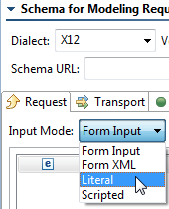
- Go to the new tool’s Request tab and change the Input Mode to Literal.
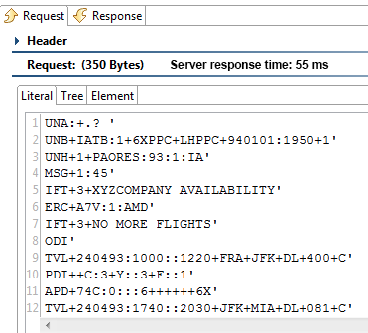
Paste the following text:
UNA:+.? ~
UNB+IATB:1+6XPPC+LHPPC+940101:1950+1~
UNH+1+PAORES:93:1:IA~
MSG+1:45~
IFT+3+XYZCOMPANY AVAILABILITY~
ERC+A7V:1:AMD~
IFT+3+NO MORE FLIGHTS~
ODI~
TVL+240493:1000::1220+FRA+JFK+DL+400+C~
PDI++C:3+Y::3+F::1~
APD+74C:0:::6++++++6X~
TVL+240493:1740::2030+JFK+MIA+DL+081+C~
PDI++C:4~
APD+EM2:0:1630::6+++++++DA~
UNT+13+1~
UNZ+1+1~
- Change the Input Mode from Literal to Form Input, then confirm that you want to override the values. Note that Dialect, Version, and Message type were automatically completed.
- Go to the Transport tab, enter http://localhost:8080/parabank/echo.jsp into the Router Endpoint field, and save the editor.
Run the EDI Client. - Open the Traffic Viewer.
Note that the request was sent in the EDI format. However, also note that each line ends with a quote character instead of the "~" character that was in our original message. By default, the EDI Client is using a different segment separator character than the one that we want to send in our message.
Setting EDI Conversion Options
Now, let's ensure that we’re sending the EDI content with the correct segment separator (the character that is at the end of the line).
- Add a Diff output as follows:
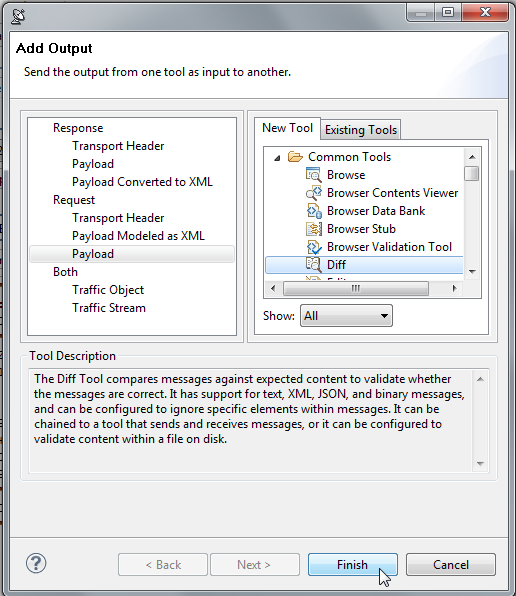
- Right-click the EDI Client, then choose Add Output.
- Select the Request> Payload and Diff, then click Finish.
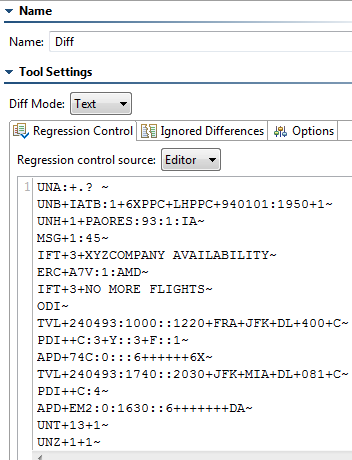
- Paste the same text (shown above) into the Diff Tool.
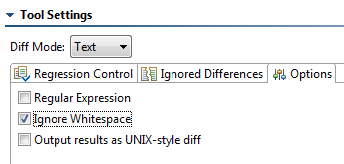
- Open the Options tab and enable Ignore Whitespace. When the above text is copied and pasted into the Diff tool, new line characters are inserted. Enabling this option will prevent those characters from being reported as differences.
- Save the Diff tool.
- Rerun the EDI Client. The test should fail with an error that 16 lines were changed. This is expected since the EDI Client is using a different segment separator than the original message.
- Change the EDI Client’s conversion options as follows:
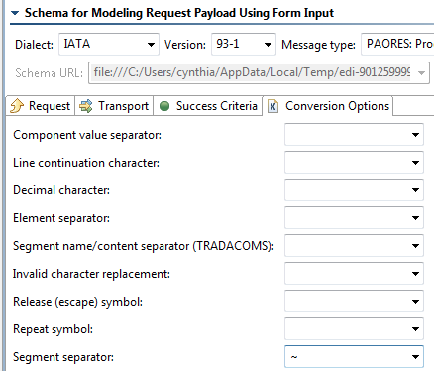
- Open the tool’s Conversion Options tab.
- Find the Segment separator option, and type in
~. - Save the EDI Client.
- Re-run the EDI Client. Now it will succeed.
Note that in locales where the decimal separator character is a comma (',') rather than a period ('.'), you will see a single test failure on the first line. This is due to the difference in the decimal separator character.
Configuring EDI Messages
One of the main reasons to use the EDI Client is its ability to let you easily configure EDI messages. Let's parameterize one of the fields in our EDI message.
- Create a new Table Data Source as follows:
- Right click the test suite node, then choose Add New> Data Source.
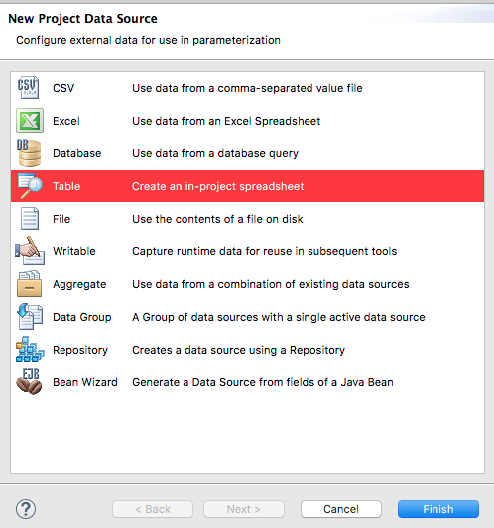
- Select Table, then click Finish.
- Name the data source
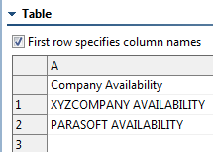
Companies. - Enable First row specifies column names.
- In the first column, enter
Company Availabilityas the column name, then enterXYZCOMPANYAVAILABILITYandPARASOFTAVAILABILITYin rows 1 and 2, respectively. - Save the data source.
- Copy the first EDI Client you created (right-click it, then choose Copy) and paste it into the same test suite.
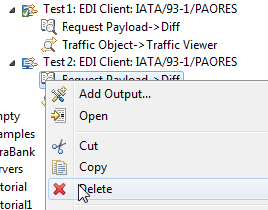
- In the new EDI Client, delete the Diff tool that is attached to the Request Payload.
- In the new EDI Client’s Request tab of the new EDI Client, ensure that Input Mode is set to Form Input.
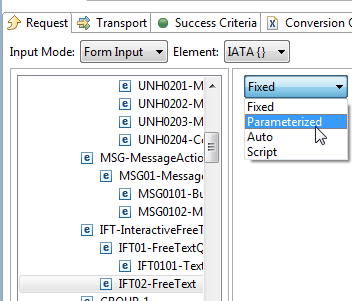
- In the tree shown in Form Input, select the first IFT02-FreeText node (the full path to the node is "IATA/PAORES/IFT-InteractiveFreeText/IFT02-FreeText").
- On the right, change Fixed to Parameterized.
The combo box to the right should show the data source column named Company Availability.
- Save the EDI Client.
- Run the test.
- Open the Traffic Viewer for Test 2: EDI Client and notice that the test was run twice: once for each row in the data source.
Validating EDI Content
We have configured our EDI Client to send the request to a service that simply echoes back the exact same request that was sent. Thus, the EDI Client is getting the same EDI content in the response as it sent in the request. Let's set up a validation on this EDI content.
- Add a new XML Assertor Output as follows:
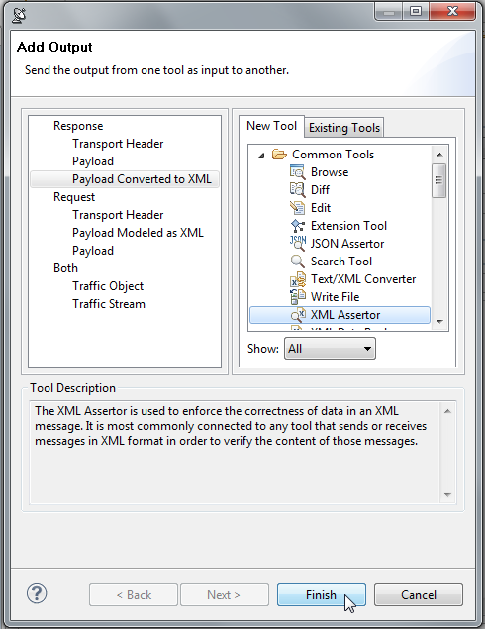
- Right-click the parameterized EDI Client (the second one), then choose Add Output.
- Select the Response Payload Converted to XML and XML Assertor, then click Finish.
- Rerun the test to populate the contents of the XML Assertor.
- Configure the XML Assertor as follows:
- Go to the XML Assertor’s Configuration tab.
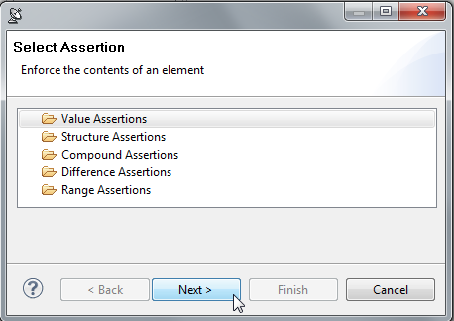
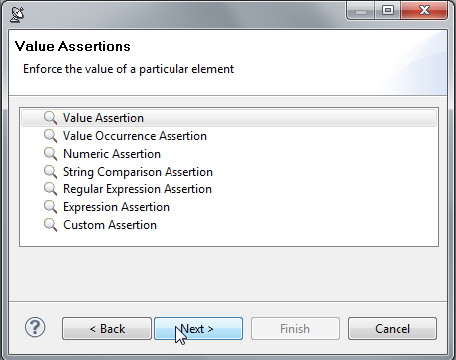
- Click the Add button, select Value Assertions and click Next.
- Select Value Assertion and click Next.
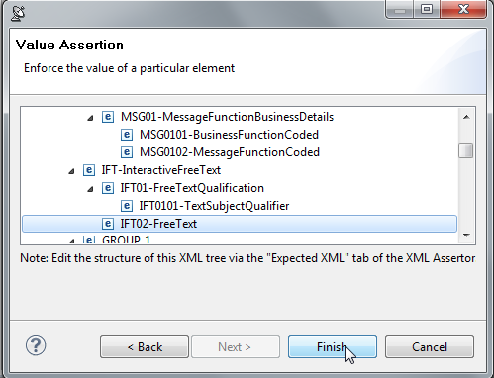
- In the tree that is shown, select the first IFT02-FreeText node (the full path to node is "IATA/PAORES/IFT-InteractiveFreeText/IFT02-FreeText") and click Finish.
- Enter
XYZCOMPANY AVAILABILITYinto the Expected Value field. - Save the XML Assertor.
- Run the test. It should fail with the message 'DataSource: Companies (row 2): Value Assertion: For element "../IFT02-FreeText", expected: XYZCOMPANY AVAILABILITY but was: PARASOFT AVAILABILITY '.
This mismatch occurs because the request is parameterized, but the XML Assertor is not. - Change the Expected Value field in the XML Assertor to Parameterized. The combo box to the right should show the column in our data source named "Company Availability."
- Save the XML Assertor.
- Run the test. It should now succeed.
The .tst file corresponding to these exercises can be found at <SOAtest install dir>/examples/tests/EDI.
