Section include:
Configuring the Application Under Test for Coverage
The first step in the application coverage workflow is to configure the application under test (AUT) for coverage. This involves generating a static coverage data file that captures information about the source code as well as configuring the coverage agent for the AUT. To do this:
- On a build machine, generate a static coverage file as described in the DTP Engines documentation ("Code Coverage Engine" section).
- Configure the application under test with the Parasoft coverage agent as described in the DTP Engines documentation ("Code Coverage Engine" section).
Test Configuration and Execution
With the proper configuration, SOAtest will collect application coverage during test execution. To configure and execute SOAtest for application coverage data collection:
- Configure a SOAtest Test Configuration to collect application coverage data as follows:
- Open the Test Configuration that you want to collect application coverage data.
- Open the Execution> Application Coverage tab.
- Enable the Collect application coverage option.
- Under Coverage agent host, specify the host name or IP address of the machine where the coverage agent resides.
- Under Coverage agent port, specify the coverage agent’s port. The default is 8050. You can click Test Connection to check if your settings are working properly.
- (Optional) Under Coverage agent user ID, you can specify a user ID so that coverage results can be associated with a specific user. A user ID should only be specified when the coverage agent is configured to run in multi-user mode. See the DTP Engine documentation for details.
- If you want test failures reported when the coverage agent connection fails, check Report coverage agent connection failures as test failures. Otherwise connection problems will be reported to the console, but will not cause the test to fail.
- Check Retrieve coverage data, then use Coverage data storage directory to indicate where you want the dynamic coverage data stored. You do not need to enable this option if the coverage agent is running on the build machine where static coverage was generated (since, in this case, both the static and runtime data can be published to DTP directly from the build machine).
- If you want the coverage data on the AUT deleted as soon as SOAtest retrieves it, also check Delete coverage data on retrieval. We recommend enabling this option in order to prevent the buildup of data files on the machine where the coverage agent is located.
- Apply the Test Configuration changes.
- Configure a SOAtest localsettings file that sets:
- The build id (build.id) based on how you want to correlate coverage results. If you want to merge these coverage results with those from other types of testing—such as unit testing and manual testing of the same application—they must all use the same build id. The build id set here must match the one that will be set on the DTP engine when collecting the static and dynamic coverage files and uploading the coverage data.
- The project (dtp.project). This value must match the dtp.project value that will be set on the DTP engine when collecting the static and dynamic coverage files and uploading the coverage data.
- Run a test in command line mode using the Test Configuration and localsettings file that were previously configured (described in Configuring, Collecting, and Reviewing Application Coverage). This test should be part of an automated process.
Automation Note
Be sure to set up your automated process to delete any existing coverage files from the specified Coverage data storage directory before each cli run.
Uploading Test Results to DTP
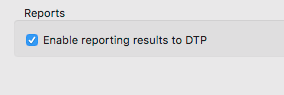
In order for DTP to correlate coverage results with SOAtest test results, it needs details about what tests were executed along with the test execution results. Make sure that the Enable reporting results to DTP option under Parasoft> Preferences> Development Testing Platform is enabled. A valid license with the Command Line option is required.
Creating a Combined Coverage Report and Uploading it to DTP
The final step in the workflow is to have the DTP Engine correlate the static and dynamic coverage data to determine which source code was covered by the current set of tests. To perform this processing and upload the results to Parasoft DTP:
- Use the DTP Engine to generate a coverage.xml file and upload it to DTP as described in the DTP Engines documentation. Remember that SOAtest stores dynamic coverage data in the location specified in the SOAtest Test Configuration’s Coverage data storage field.
Tip
Before you generate the coverage.xml file, be sure that the build id and project values set from the DTP Engine match those set in the SOAtest localsettings file.
Reviewing Coverage in DTP
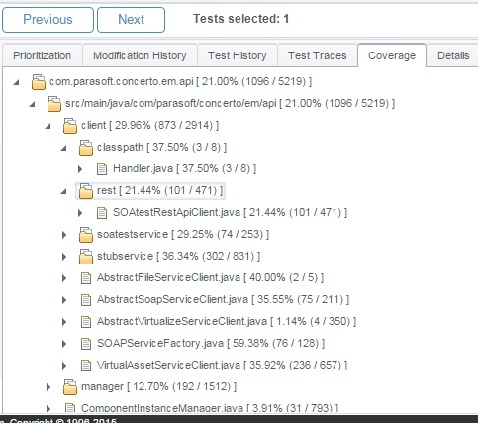
Click on a coverage widget in DTP to open the Coverage Explorer and review the application coverage achieved by your SOAtest tests. The Coverage Explorer shows the merged correlated coverage from SOAtest and other test execution tools when a coverage report is created as described in the DTP Engines documentation. See the DTP Documentation (Report Center> Explorer Views> Coverage Explorer) for details on using the Coverage Explorer.
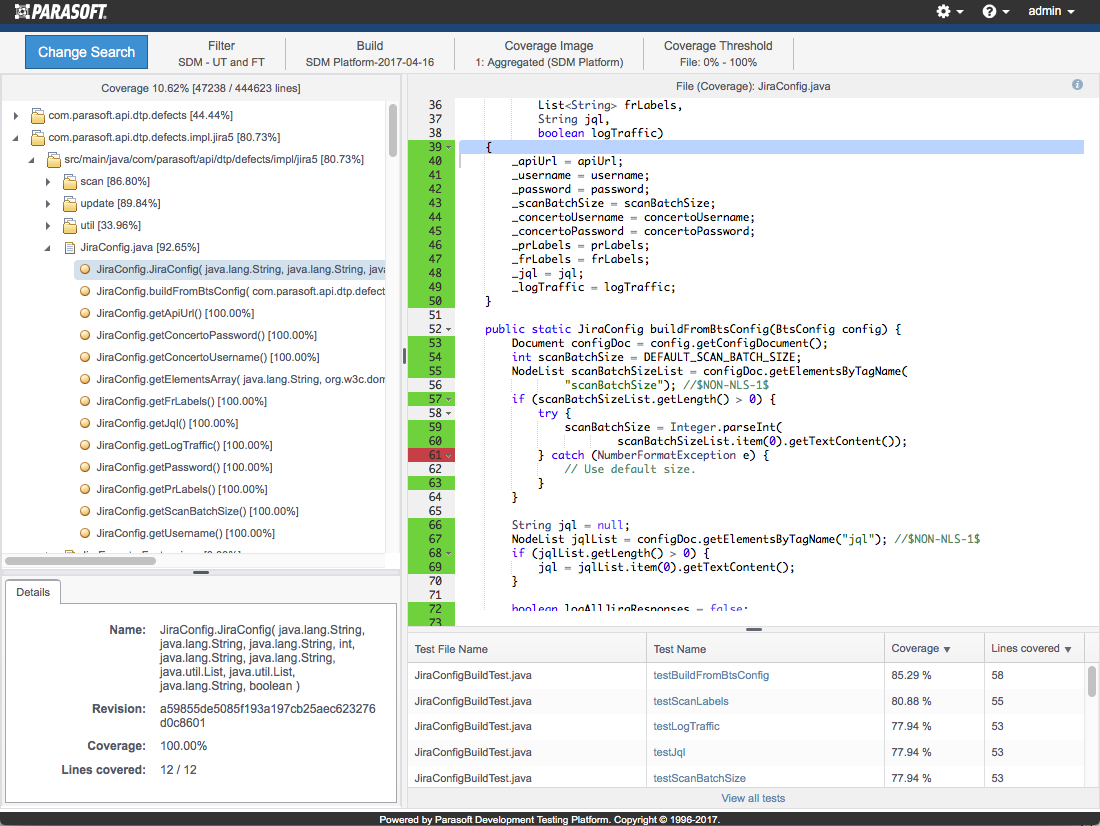
The tests panel shows details about the file and associated coverage. Test names also link to the Test Explorer in DTP so you can view additional test and coverage information.