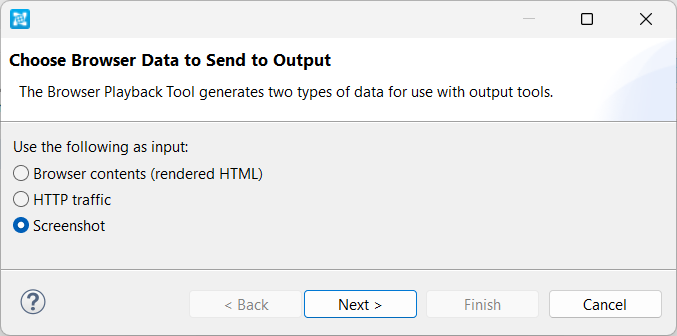
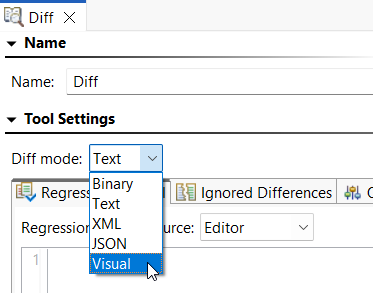
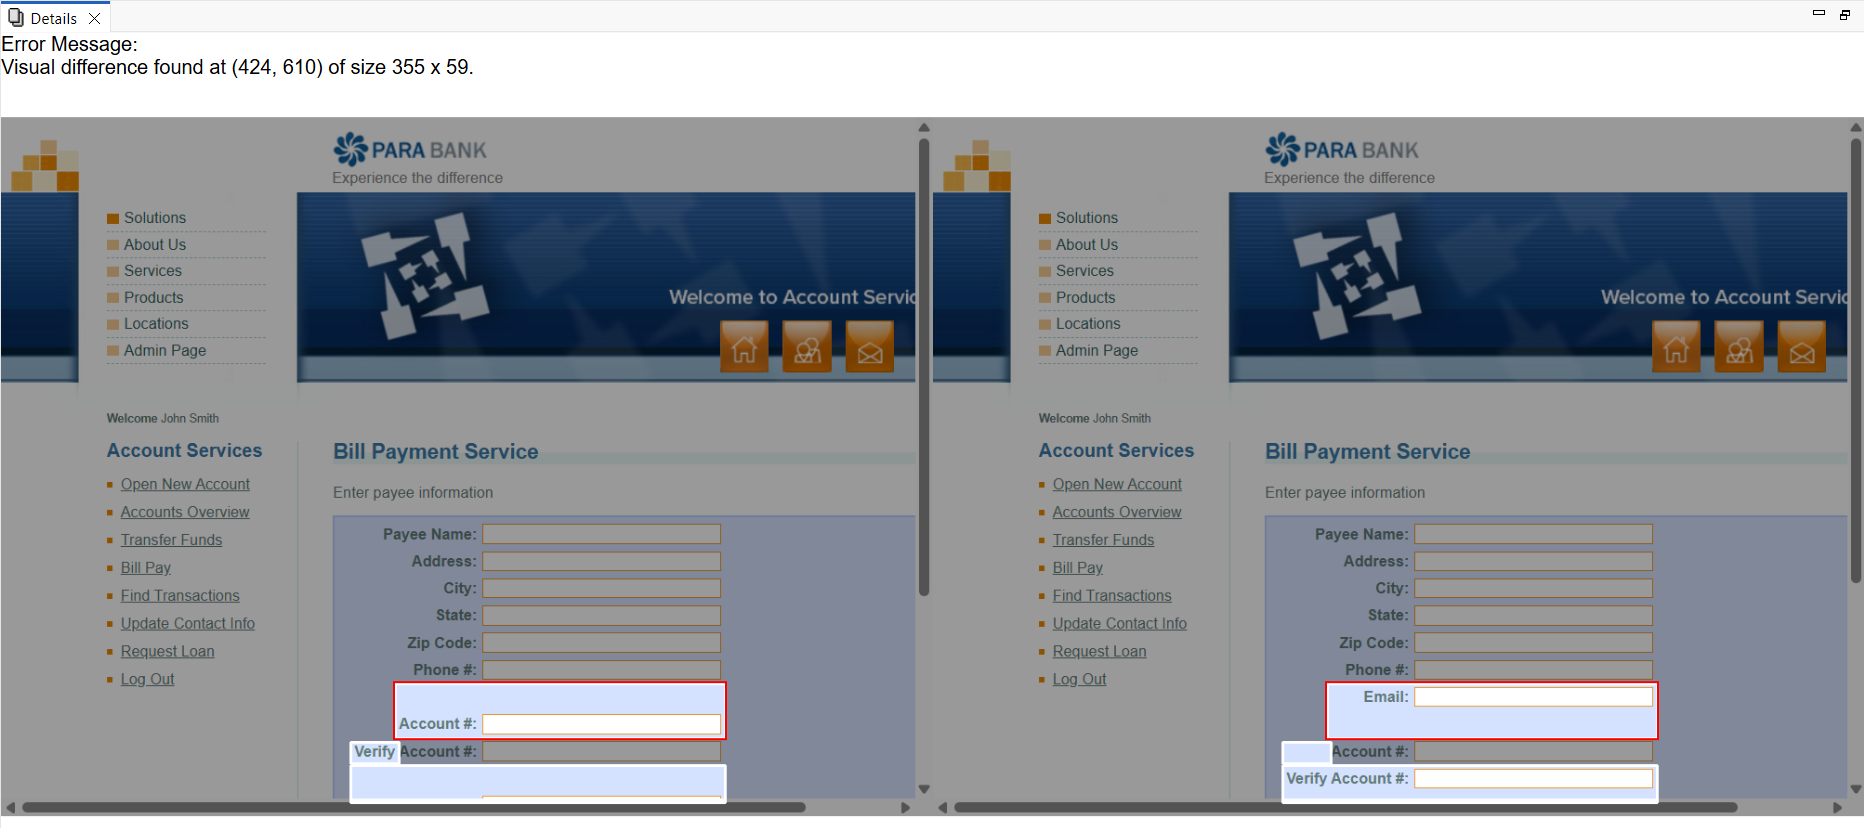
You can use the Diff tool in Visual mode to create regression controls for application windows. You can do this for an entire test scenario or just an individual test. Note that the method described below uses screenshots from a test run as controls, but you can use files on your drive if you prefer. See the Diff tool documentation for more information. Add a Browser Playback test early in your scenario and set the Action to Resize Viewport to define a fixed size of the browser viewports that are going to be compared in your regression test. This helps to prevent false positives that might come up due to different browsers, operating systems, display resolutions, and so on used in testing. It is recommended that you set your display scale to 100% when using this option. Anything else may affect the results. For a Test Scenario The test scenario will run, creating a Diff tool that is set to Visual mode and populated with a control screenshot for each of the tests in the scenario. When you run the scenario again, any visual differences between the current windows and the control screenshots will be reported in the Quality Tasks panel. For Individual Tests The test will run and save a control screenshot to the Diff tool. When you run the test again, any visual differences between the current window and the control screenshot will be reported in the Quality Tasks panel. These differences will be identified by their position and size; double-click to view side-by-side screenshots with the identified area highlighted. Note that if more than one difference was detected on the same screen, all of them will be shown with the one you double-clicked highlighted in red and the others in white. Right-click the reported difference and choose Ignore Visual Difference to add the area to the Ignored Differences table of the Diff tool.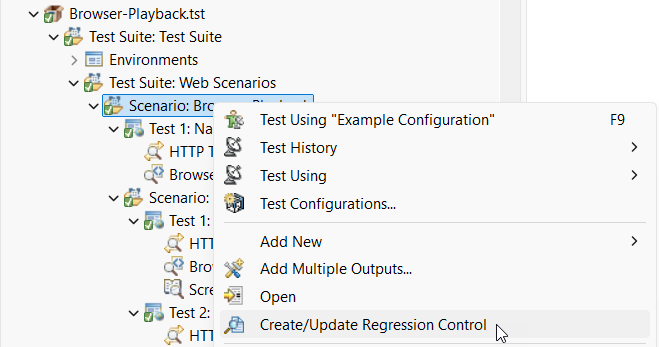
Overview
Content Tools
Need assistance? Visit our support page