This lesson helps you install Jtest into your IDE and set it up for working with Unit Test Assistant.
Exercise 1 - Installing Jtest into your IDE
This exercise teaches you how to install Jtest into your Eclipse or IntelliJ IDEA.
Installing into Eclipse
- Unpack the Jtest distribution to a location on your computer.
- Open Eclipse.
- Choose Help> Install New Software in the Eclipse menu bar.
- Click Add in the dialog that opens.
- Click Archive and open
[JTEST_INSTALL_DIR]\integration\eclipse\jtest_plugin_<version>_eclipse.zip. - Click OK to add the plugin to the Available Software dialog.
- Check the box next to the Parasoft Jtest plugin name.
- Click Next.
- Restart Eclipse when prompted to complete the installation process.
Installing into IntelliJ IDEA
- Unpack the Jtest distribution to a location on your computer.
- Open IntelliJ.
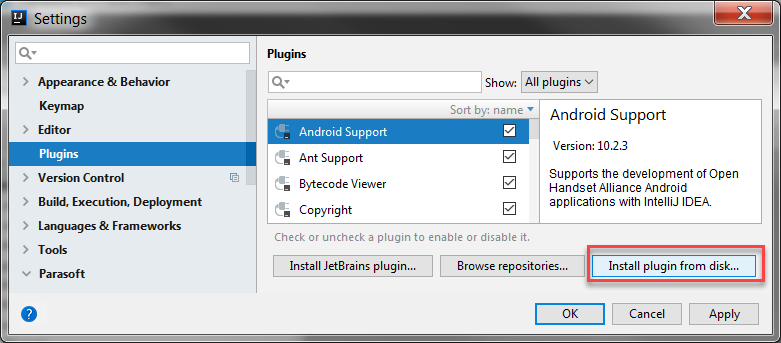
- Choose File> Settings> Plugins in the IntelliJ menu bar.
- Click Install plugins from disk... button.
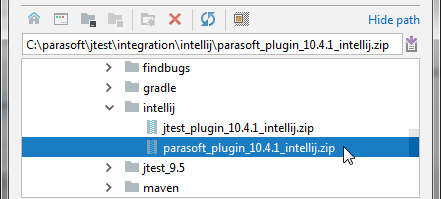
- Browse to
[JTEST_INSTALL_DIR]\integration\intellijand choose parasoft_plugin_<version>_intellij.zip. - Click OK to complete the Parasoft Plugin installation and restart IntelliJ.
- Choose File> Settings> Plugins in the IntelliJ menu bar.
- Click Install plugins from disk... button.
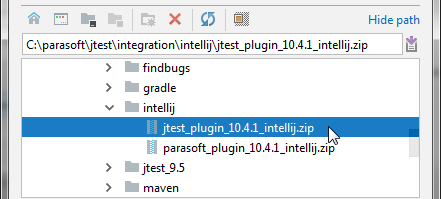
- Browse to
[JTEST_INSTALL_DIR]\integration\intellijand choose parasoft_plugin_<version>_intellij.zip. - Click OK to complete the Jtest Plugin installation and restart IntelliJ.
Exercise 2 – Configuring Preferences
This exercise teaches you how to set up Jtest and configure UTA preferences.
- Choose Parasoft> Preferences (Eclipse) or Parasoft> Preferences (IntelliJ) in the menu bar.
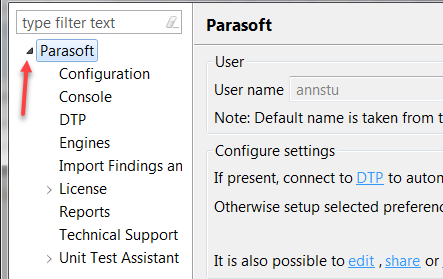
- Expand the arrow next to “Parasoft” in the left pane of the Preferences dialog to open the Parasoft menu.
- Choose License from the Parasoft menu.
- Select the Local or Network radio button, depending on your license type, and fill in the required information to activate the license.
If you have the trial version of Jtest, go to Parasoft> License> Activation Code and fill in your activation code.
- Choose Engines from the Parasoft menu.
- Check the Enable box in the “Jtest” area to enable Jtest.
- Complete the Install dir field with the path to the Jtest executable.
- Click Apply.
- Choose Unit Test Assistant. from the Parasoft menu.
- Complete the Location of tests field with a pattern and naming convention that UTA will use when generating tests. You can choose a preset pattern from the drop-down menu.
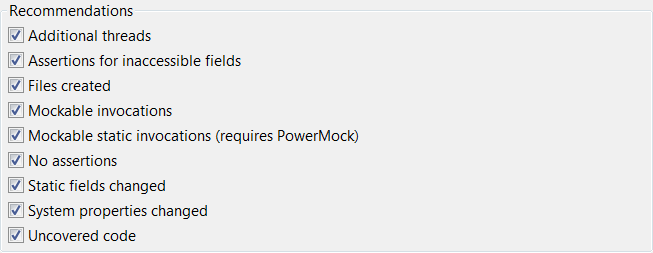
- Enable the recommendations in the “Recommendations” area.
- Click Apply.
Exercise 3 – Launching the Views and Importing the Project
This exercise teaches you how to activate the views you need to work with UTA and how to open the example project shipped with Jtest into your workspace.
In Eclipse
- Choose Parasoft> Open Jtest Perspective in the Eclipse menu bar. This will launch all the views that are crucial when working with Jtest on the desktop. For this tutorial, you will need the following views:
- Unit Test Assistant
- Recommendations
- Variables
- Factory Methods
- Coverage
- Package Explorer
- JUnit
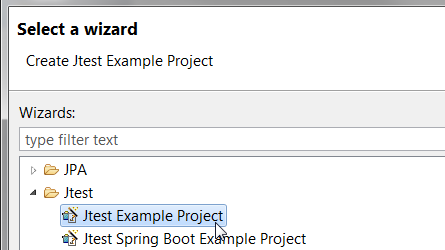
You can close all other views. - Go to File> New> Other... in the Eclipse bar to open a wizard.
- Expand Jtest and select Jtest Example Project to import the example project into your workspace.
- Click Next.
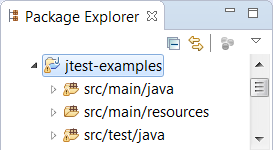
- Click Finish. The "jtest-examples" project will be available in the package explorer.
In IntelliJ
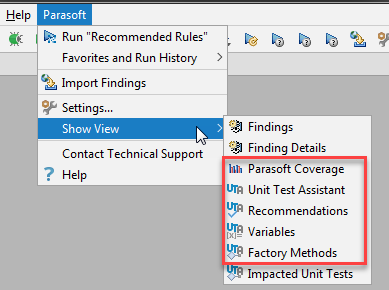
- Choose Parasoft> Show View in the IDE menu bar and open the following views:
- Unit Test Assistant
- Recommendations
- Variables
- Factory Methods
- Coverage - Choose File> New> Create Project from Existing Sources in the IntelliJ menu bar.
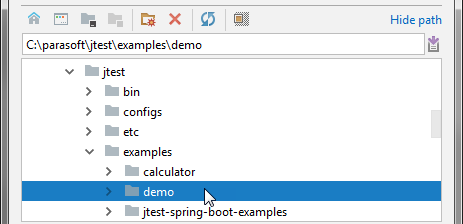
- Browse to
[JTEST_INSTALL_DIR]\examplesand select demo to create the "demo" project in IntelliJ. - Click OK.
The name of the example project
The following lessons demonstrate how to use Jtest with the "jtest-examples" project in Eclipse. If you repeat the same steps in IntelliJ, all the source files are included in the "demo" project. For example:
Eclipse: jtest-examples> src/main/java> examples> nbank> Account.java
IntelliJ: demo> src/main/java> examples> nbank> Account.java


