Unit Test Assistant facilitates creating mock objects that isolate a test from its dependencies. When a test is generated, UTA can automatically create mocks, which simulate behavior of real complex objects, such as external interfaces, that cannot be incorporated into a test. This allows you to run your tests in isolation - without having to add excessive code to your test.
Creating unit tests with mocks
- Ensure that the options for creating mocks have been configured (see Configuring Preferences).
- Create a new unit test with UTA (see Creating a Basic Unit Test, Creating Multiple Unit Tests or Creating a Parameterized Unit Test). By analyzing source code, UTA will detect complex objects that cannot be incorporated and add a mock object to the test.

- Execute the test and view the results in the UTA interface (see Executing Unit Tests with Unit Test Assistant).
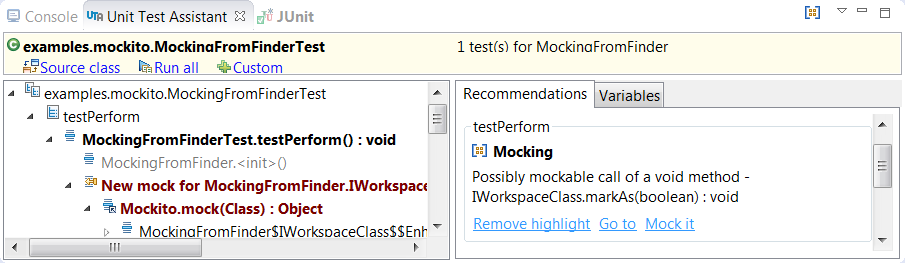
The Recommendations section displays information about interactions with mock objects. Clicking the Highlight link helps you view these interactions in execution flow displayed in the left column. The nodes marked in brown indicate the mock object. The nodes in bold indicate interactions with the mock object. Double-clicking the nodes navigates the test code.
Customizing mocks
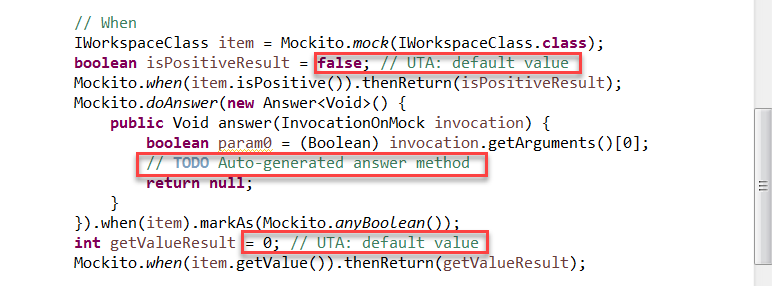
Mocks created with UTA include default values you may want to modify.
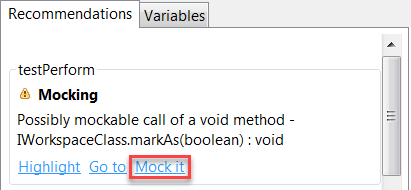
- Click the Mock it link in the recommendation field to extend the test with elements required for mock modification.
- Modify the mock with values that meet your testing strategy.