In this section:
Adding the Calculator Project
See Creating and Managing Projects for additional information about creating projects in DTP.
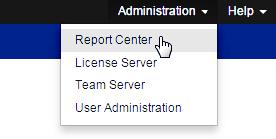
- Choose Report Center from the Administration drop-down menu.
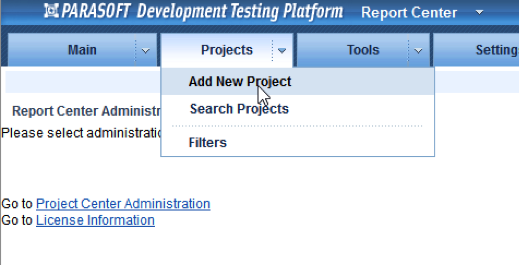
- Choose Add New Project form the Projects drop-down menu.
The Project General Settings overlay opens.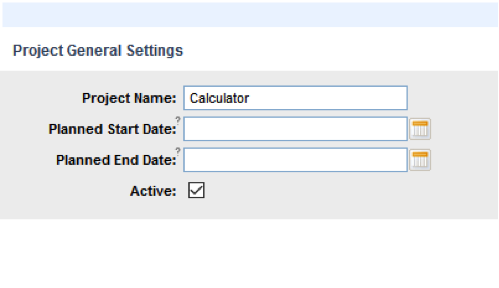
- Enter “Calculator” in the Project Name field and click Next.
- Click Save then Finish to create the Project.
- Click Report Center in the top title bar to return to the Report Center page.
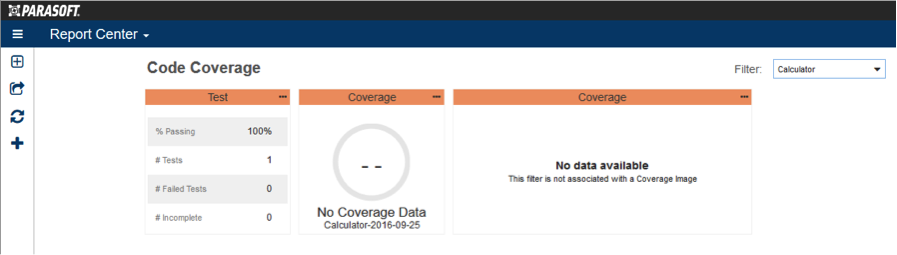
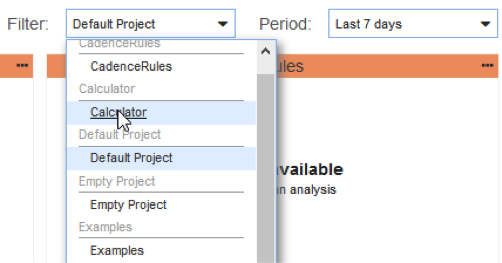
Choose Calculator from the Filter drop-down menu.
Creating a Code Coverage Dashboard
You can add code coverage widgets to an existing dashboard or create a new dashboard specifically for your coverage widgets. We will create a new dashboard called Code Coverage and add the widgets for reviewing the coverage data. See Dashboards for additional information on creating dashboards, adding widgets, etc.
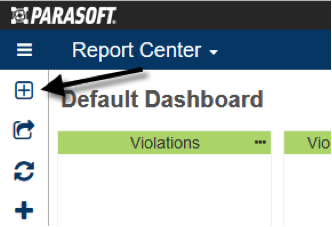
- Click on the Add Dashboard button ([+]) in the Report Center sidebar.
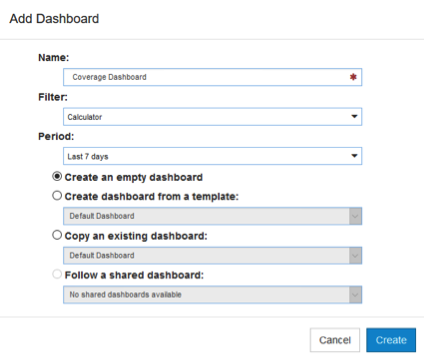
- In the Add Dashboard overlay, configure the new dashboard with the following settings and click Create:
- Name: Coverage Dashboard
- Filter: Calculator
- Period: Last 7 Days
- Enable the Create an empty dashboard option
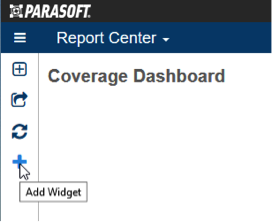
- Click on the Add Widget button (+) in the Report Center sidebar.
- In the Add Widget overlay, choose Tests> Test - Statistics and click Create.
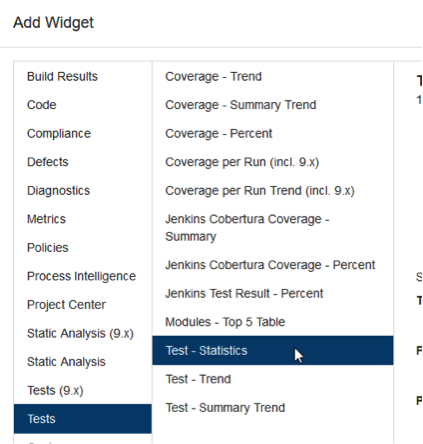
- Repeat steps 3 and 4 in order to add the following widgets:
- Coverage - Percentage
- Coverage - Trend
When finished adding the widgets, your dashboard should resemble the following: