You can change the basic properties of existing static analysis rules, such as name, severity, category, and ID, to help you achieve your organization's development policies and goals. For example, you can create new rule categories specifically for your company, such as "Company Standards" or "Company Safety Rules," and remap the rules shipped with DTP to these new categories. You can also change the rule severities to target specific constructs. When rule properties are modified, the rule is considered "mapped" in DTP.
You must be an administrator or team leader to modify the rule properties. See User Administration for additional information.
You can remap rule properties in DTP Engines so that the local analysis executes the custom rules (see DTP Engines manuals for details). You can also centralize rule property modifications in DTP so that DTP Engines connected to DTP server will use them.
In this section:
Configuring DTP Engines to Use the Customized Rules
In order for the DTP Engine(s) use the customized rules in DTP:
- The DTP Engine must be configured to use the updated test configuration (see the DTP Engine documentation).
- The following setting should be enabled in the DTP Engine .properties configuration file:
dtp.share.enabled=true
This setting ensures that the engine can use the global rulemap.xml file that contains rule property definitions. This file is stored in Team Server in the main root data storage account for DTP server.
Editing Rule Properties
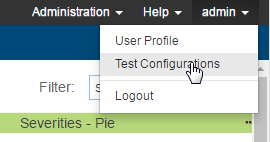
- Choose Test Configurations from your user profile drop-down menu.
- Click on a DTP Engine node in the sidebar and click the Rule Customization tab.

- Click on a rule in the table to show the rule properties and rule documentation.
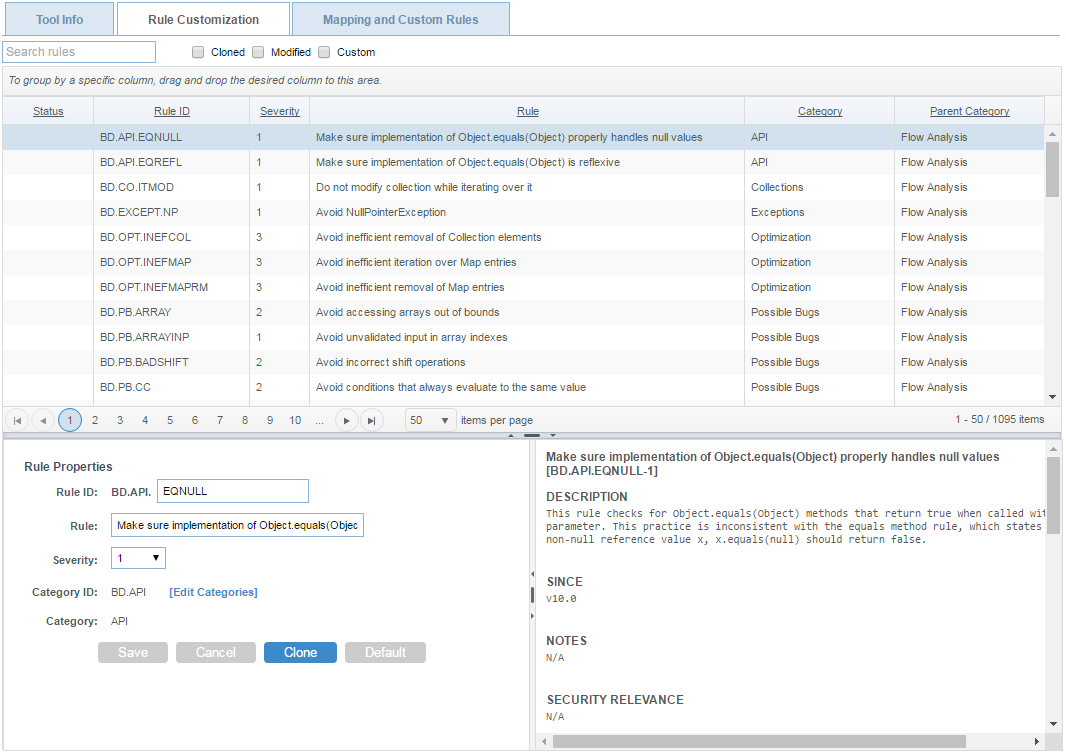
You can perform the following actions in the Rule Properties panel:- Click in the Rule ID field to edit rule ID.
- Click in the Rule field to edit the rule name.
- Choose a severity from the Severity drop-down menu to change the severity of the rule.
- Click the [Edit Categories] link to open the Rule Categories editor. See Editing Rule Categories.
- Click Clone to create a duplicate of the rule. Cloned rules use the same internal logic as the original rule. Use this option to customize rule properties while preserving the properties of the original rule. Cloned rules automatically appear in all test configurations and can be activated for execution (see Editing Test Configurations).
When you change rule properties, the original values are also displayed. You can click Default to reset the rule properties to their original values.
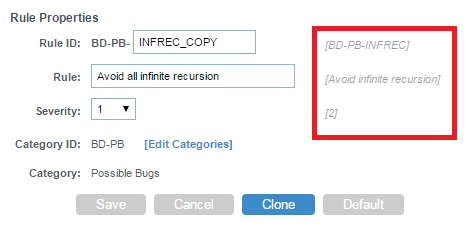
Click Save to save any changes you made to the rule.
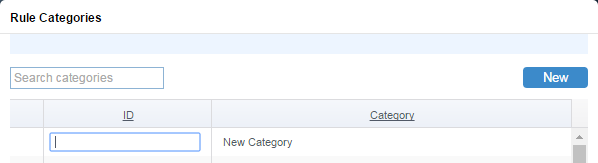
Editing Rule Categories
You can change the category a rule belongs to in the Rule Categories editor. Click the [Edit Categories] link in the Rule Properties panel to open the editor.
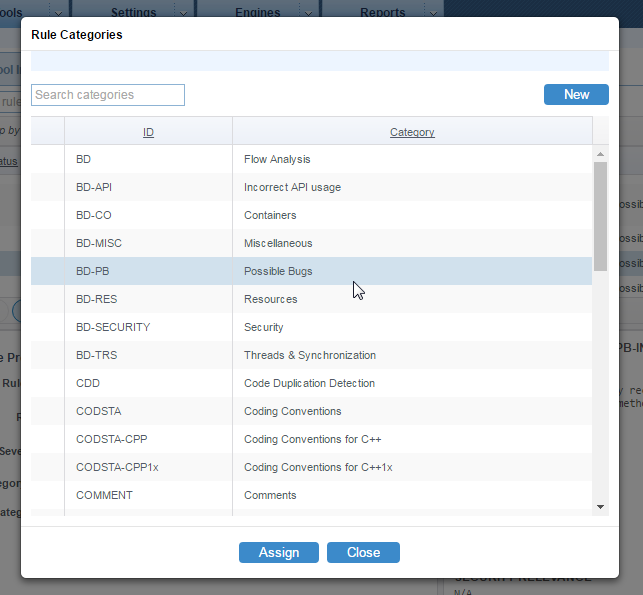
You can perform the following actions:
- Choose a category and click the Assign button to assign the rule being edited to the selected category. Click Save in the Rule Properties panel to preserve the change.
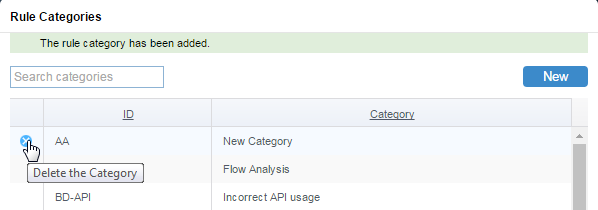
- Click on a category name to activate the field and edit the category name.

The category name is saved after leaving the text field.
Changing the category name affects all the rules in this category.
You can click the revert button to reset the category name.
- Click New to define a new category.
- Click the delete button to delete the selected rule category. Only custom categories created in the overlay can be deleted.
Uploading and Downloading Rule Map Files
When rule properties are customized, the remapped definitions are stored in a rulemap.xml file. You can download rulemap.xml files from DTP, as well as upload rulemap.xml files that may have been modified outside the system.
- Click on an engine in the sidebar. If the rulemap.xml file contains customized rule properties for Java code, for example, click DTP Engine for Java.
- Click the Mapping and Custom Rules tab.
- To upload a rulemap.xml file, click Select File in the Rule mapping section.
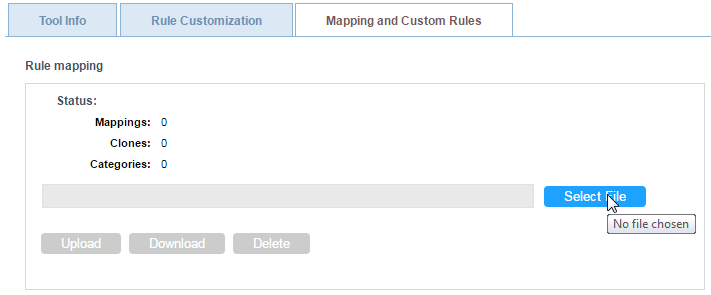
You can also click Download to download the rulemap.xml file if one is currently associated with the DTP Engine. - Locate the rulemap.xml file you want to upload to DTP Server and click Upload. The rulemap.xml will be applied to all rules used by the DTP engine.
- Click the Static Analysis Rules tab to view and verify the rules. You can click on a rule to view details.
- Enable the Cloned, Mapped, or Custom option to filter rules according to how they may have been modified.