In this section:
Introduction
This tutorial describes using the Data Collector Error Email example, which enables you to send email notifications based on DTP Events. The following DTP REST API is used in this example:
- Endpoint: http://<HOST>:<PORT>/grs/api/v1/staticAnalysisViolations/{{event.message.ids.0}}/prioritization/events
- URL: /staticAnalysisViolations/{{event.message.ids.0}}/prioritization/events
- Method: GET
Requirements
- DTP and Extension Designer must be configured correctly. See Server Settings.
- An SMTP email server must be configured. See SMTP Settings.
- DTP should have collected static analysis data from a Parasoft code analysis and test execution tool (i.e., C/C++test, dotTEST, or Jtest). This requirement is so that you have violations metadata to edit.
Setup
- Create a new service in the DTP Workflow category (see Working with Services) and create new flow (see Working with Flows). You can also add a new flow to an existing service.
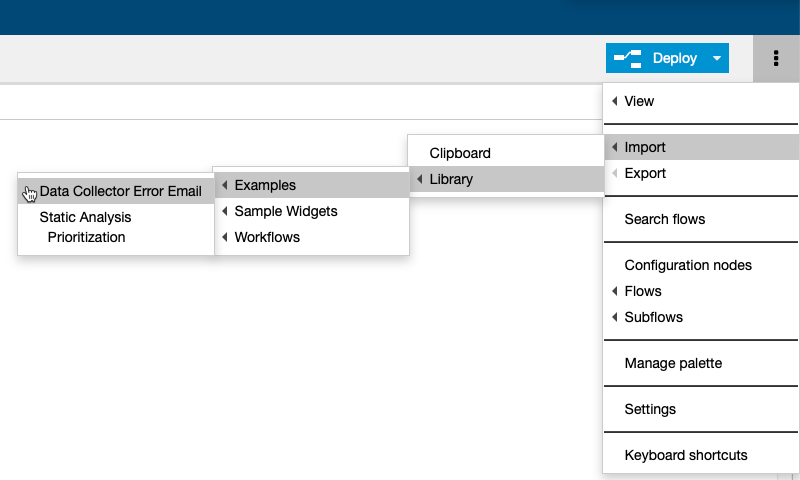
- Import and deploy the Data Collector Error Email flow from the library.
When the Data Collector Error Email flow is imported, it is labeled with the Send an Email when a Report Fails to Processes comment node.
Configuration
The DTP DataCollector topic notifies subscribers about events created from Data Collector. The topic supports three different events:
ReceivedEvent: Event is thrown when Data Collector receives the report and starts to process it.ProcessedEvent: Event is thrown when Data Collector successfully finishes processing the report.ErroredEvent: Event is thrown when Data Collector encounters an error while processing the report.
See Event Topics for more information.
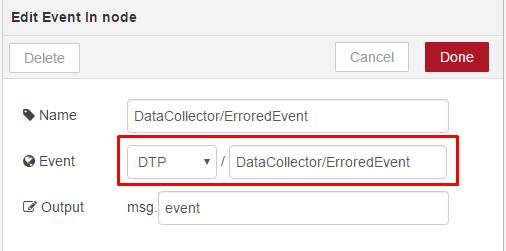
- Double-click the DataCollector/ErroredEvent node. This is an Event In node and is used in this example to subscribe to the
DataCollectortopic and listen for the JMSErrorEventevent. ThisDataCollector/ErrorEventevent is triggered when Data Collector notifies subscribers that it has received an error and won't be able to process reported test results.
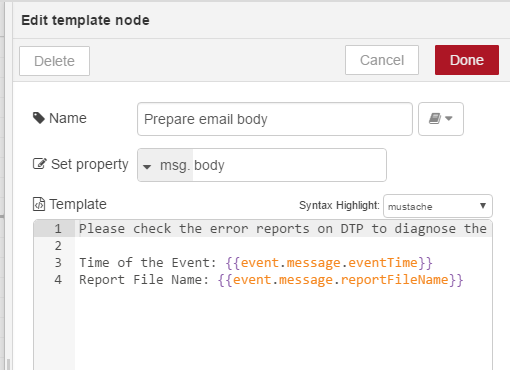
The node forwards payload data to the msg.event, which contains detailed information about the event. - Double-click the Prepare email body node. This is a Template node and it provides an easy way to create an email body template. In this example, the email body includes the data received from the event.
- The Info tab contains details on how to configure this node. Choose View> Show Sidebar from the menu to enable the Info tab.
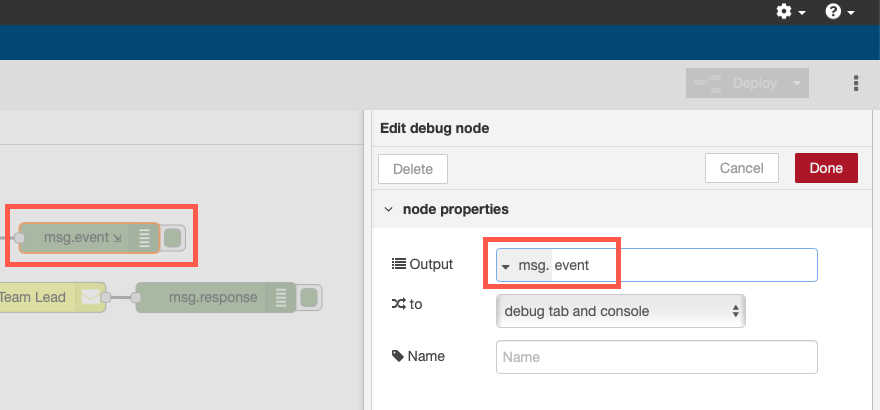
- (Optional) You can add a Debug node after the Event node to see the payload from the event. This allows you to capture the payload and customize the template as needed.
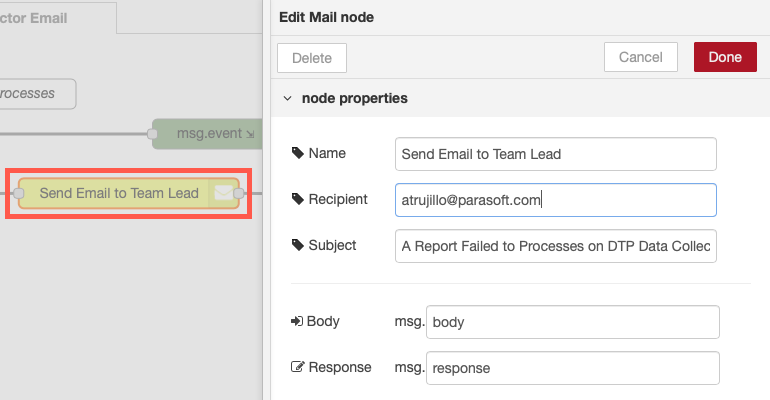
- Double-click the Send Email to Team Lead node and specify the recipient email address and subject line. The Body field references the body configured in step 2.
With successful email transmission, you will get non-error response at the end.
