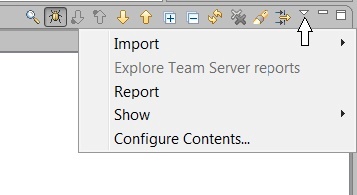
- Note that this same drop-down menu can be used to Import tasks, Explore TeamServer reports, or generate a Report.

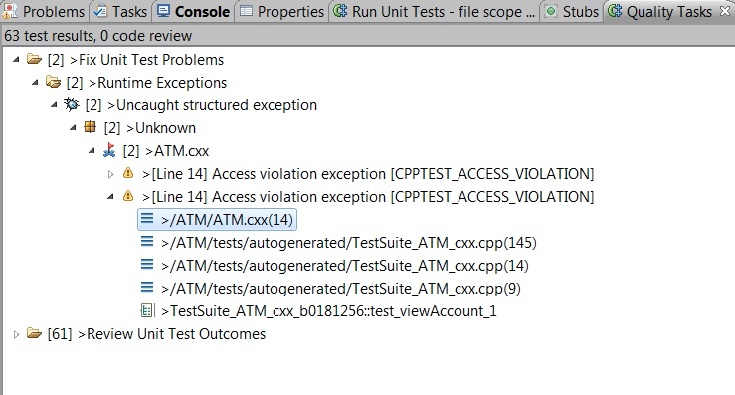
Expand Fix Unit Test Problems fully to review information about the first problem.

Double-click the /ATM/ATM.cxx line in the Quality Tasks tab to open the source code associated with the problem.

In the Quality Tasks view, double-click the first ...TestSuite... line to open the test case associated with the problem.

- Note that the test case creates an ATM object passing
bankanddisplaypointers to the constructor—and makes the viewAccount call passing the account number and password as arguments. The display pointer dereferenced where the access violation is reported was defined as null, which is most likely the problem.

To modify the test case source, open the test case code and initialize _display_0 pointer with a valid display object:

Select ATM.cxx and include in the project tree and rerun the unit tests.Note that additional tests were run and no test failures were reported.