...
- Create an empty test suite (.tst) file called
TestFlowLogic.tstas follows:- Right-click the Examples project node in the Test Case Explorer, then choose Add New> Test (.tst) file.
- Under File name, enter
TestFlowLogic. - Click Next.
- Select Empty, then click Finish.
- Open the test suite configuration panel by expanding the test suite, then double-clicking the Test Suite: Test Suite node.
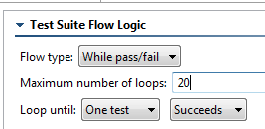
- Open the Execution Options> Test Flow Logic tab.
- Set the Flow type to While pass/fail.
- Set the Maximum number of loops to
20. - Change the Loop until setting to One test and Succeeds.
- Save the test suite configuration settings.
- Create a SOAP Client test as follows.
- Right-click the TestFlowLogic.tst> Test Suite: Test Suite node, then choose Add New> Test.
- In the dialog that opens, select SOAP Client, then click Finish.
- Configure the SOAP Client test as follows:
- In the test configuration panel’s WSDL tab, enter
http://localhost:8080/parabank/services/store-01?wsdlfor the WSDL URL.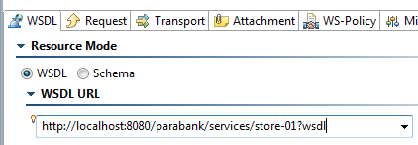
- In the Request tab, set Operation to getItemByTitle.

- For titleKeyword, check the box, then enter
PowerBuilderas the value.
- Save the changes to the SOAP Client test.
- In the test configuration panel’s WSDL tab, enter
- Create a regression control for that test as follows:
- Right-click the SOAP Client test node and select Create/Update Regression Control.
- Select Create Regression Control.
- Click Finish.
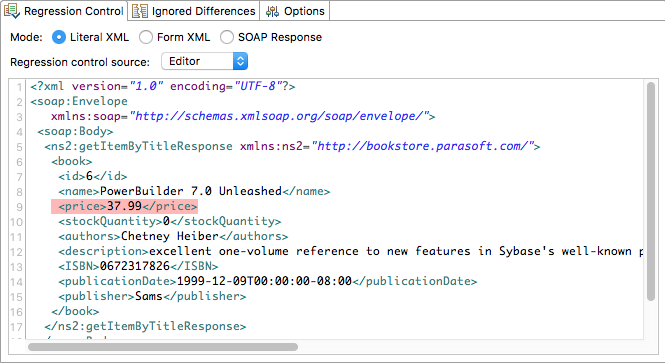
- Modify the expected price in the regression control as follows:
- Double-click the newly-created Diff control node to open the Diff tool editor.
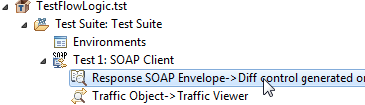
- Modify the value in the price element. The store service increases the price of the book by $1.00 after several calls to getItemByTitle, so depending on how many times you’ve ran tests in this tutorial, the current price may be different than shown.
- Double-click the newly-created Diff control node to open the Diff tool editor.
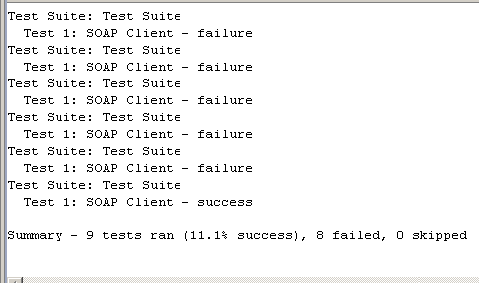
Run the current test suite by selecting the test suite node, then clicking the Test toolbar button. Even though specific tests failed, the test suite will succeed because the price entered in the expected response will be reached before looping 20 times. You can see this in the Console tab:
Info title Higher prices than expected? The more times you’ve called getItemByTitle, the more the prices will have increased. To bring prices back down, restart the Parabank server and rerun the SOAP Client that calls getItemByTitle.- Double click the previously-created Diff Control node to re-open the Diff tool editor.
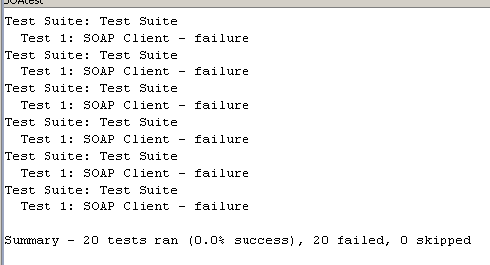
- Modify the price so that the test will loop the full 20 times before the price is reached.
- Run the Test Suite again. The Test Suite will fail because the price is never reached after looping 20 times.
...
- Select the Test Suite: Functional Tests node (created in Creating Test Suites for Unit Tests 単体テストのためのテスト スイートの作成) and click the Add Test Suite toolbar button.

- In the Add Test Suite wizard, click Empty, then click Finish.
- Double-click the new Test Suite: Test Suite node added to the test suite tree, enter
Custom Scriptingin the Name field in the test configuration panel, then click Save. - Select the Test Suite: Custom Scripting node and click the Add test or output button.
- In the Add Test Wizard, select SOAP Client in the right, then click Finish. A SOAP Client tool is added to the test suite.
- Double-click the Test 1: SOAP Client node underneath the Test Suite: Custom Scripting node and enter
Validate Price Valuein the Name field in the right GUI Panel. - In the WSDL tab of the test configuration panel, enter
http://localhost:8080/parabank/services/store-01?wsdlin the WSDL URL field. - Open the Request tab, then select getItemByTitle from the Operation drop down box.
- In the SOAP body tab, click getItemByTitle and enable the titleKeyword option.
- Choose Fixed from the drop-down menu and enter
Linuxas the value. - Click the Save toolbar button.

- Right-click the Test 1: Validate Price Value node and select Add Output.
- In the Add Output wizard, select Response> SOAP Envelope on the left, and XML Assertor on the right, and click Finish. This tells SOAtest to chain an XML Assertor to the XML Response output of the SOAP Client.

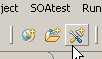
- Open the Configuration tab within the XML Assertor test configuration panel, then click the Add button.
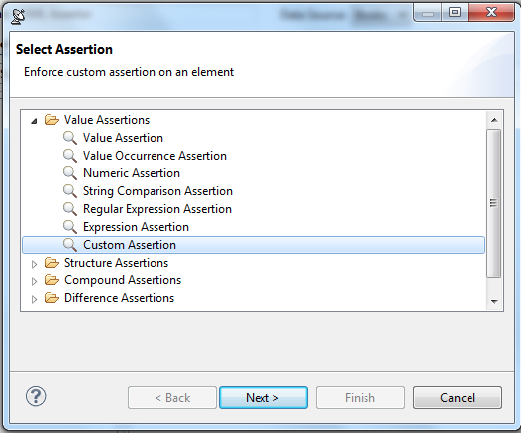
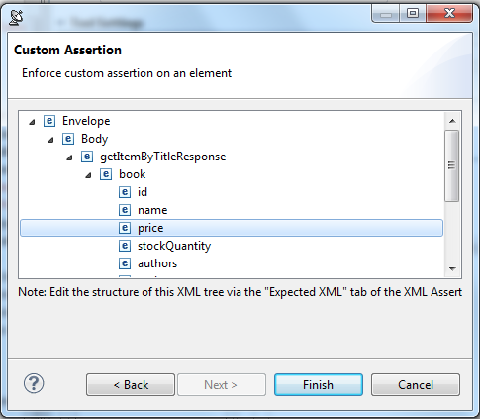
- In the Select Assertion dialog, expand the Value Assertion node, select Custom Assertion, and click the Next button.
The Custom Assertion dialog then displays a tree view of the XML message from which you can select a single value to enforce. - Select the price element in the XML tree view and click the Finish button.
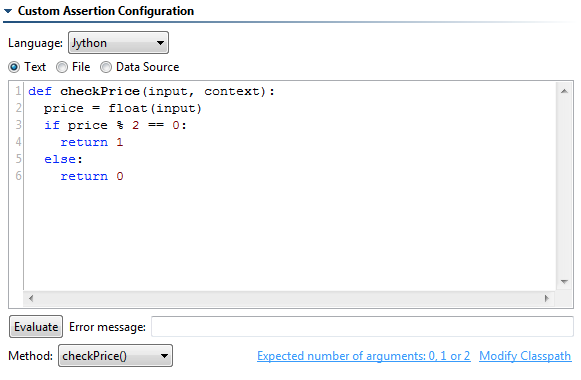
The test configuration tab will now be populated with a Custom Assertion. - Select Jython from the Language drop-down menu.
Enter the following script, which ensures that the price value is even, in the Text field of the test configuration tab:
Code Block def checkPrice(input, context): price = float(input) if price % 2 == 0: return 1 else: return 0
- Select checkPrice() from the Method drop-down menu.
- Click the Save toolbar button.
- Select the Test 1 node and click the Test button. Notice that the test fails. If you double-click the test’s Traffic Viewer node, you will see that the price of the Linux book is an odd number, causing the test to fail.
...