...
- Open the Smart Test Templates view and click Add Template in the tool bar.
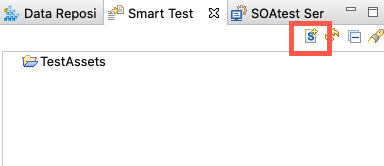
- Specify a name and location for the template and click Next. The template must be saved to the
TestAssetsfolder or a subfolder of the TestAssets folderone of its subfolders. - Choose Empty and click Finish.
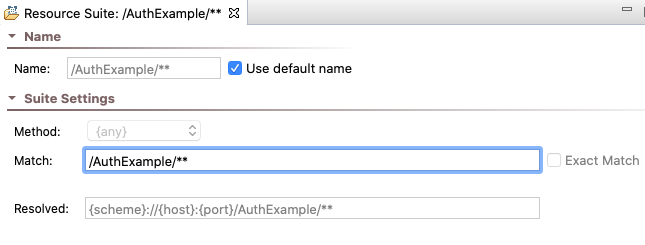
- Double-click on the Resource Suite and specify a pattern in the Match field. The pattern should identify the endpoints you want the rules to apply to. See Defining Smart API Test Generation Scope for additional information about matching resources.
- Right-click on the Resource Suite and choose Add New > Resource Template.
- Specify any additional pattern-matching logic (for example, REST method or path segment) to identify tests that the template should be applied to. Leave the Match field empty to match all tests matched by the parent Resource Suite.
- Right-click on the Resource Template and choose Add Output...
- Choose Suite > Beginning in the left pane and Test Suite Reference in the right.
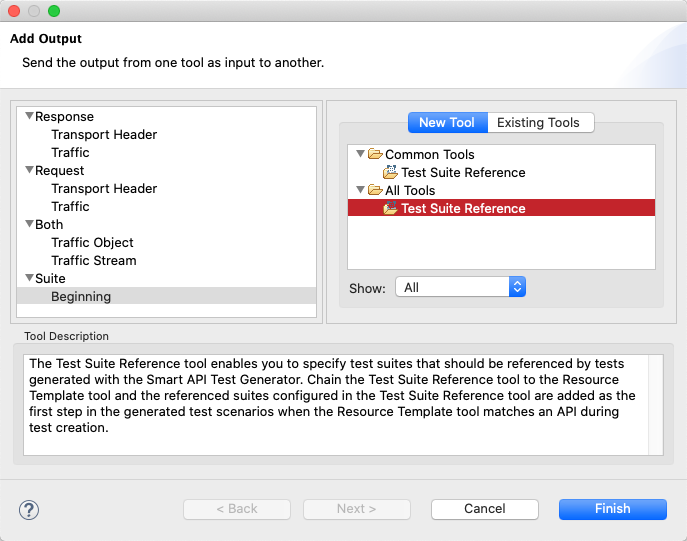
- Click Finish and specify the .tst file created in the Configuring the Authentication Source section. If you enable the Persist as relative path option, the path generated in the test suite configuration when the template is applied will be relative to the TestAssets field. You can use the
${project_loc} variable to reference tests in another project. For example, if the REST Client you created is saved to a project called "auth" and the .tst file has the name "AuthSuite", you could specify${project_loc:auth}/AuthSuite.tstin the field. When the template is applied, the path to the reference will be correct.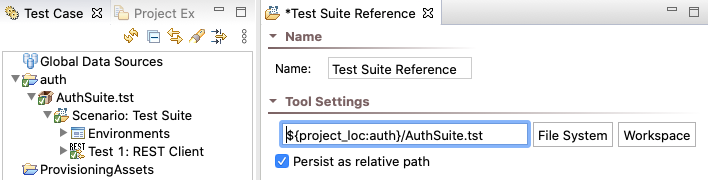
- Right-click on the Resource Template again and choose Add Output...
- Choose Request > Transport Header in the left pane and HTTP Header in the right.

Click Finish and add the following header in the Tool Settings section of the HTTP Header tool:
No Format Authorization: ${access_token} ${token_type}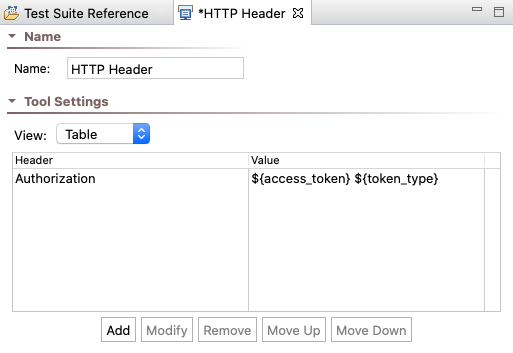
- Save your changes.
...