...
| Table of Contents | ||
|---|---|---|
|
Suppressing Findings in the IDE
...
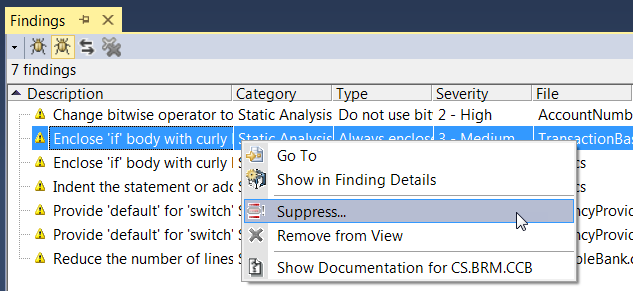
Right-click on a single finding or a group of selected findings and choose Suppress from the menu.
Conditional Content product: (dottest) product: (dottest) sv-attr:0A01020401598D973E6641760F8AF4E5 0A01020401598D973E684FA84B2F8FAC 
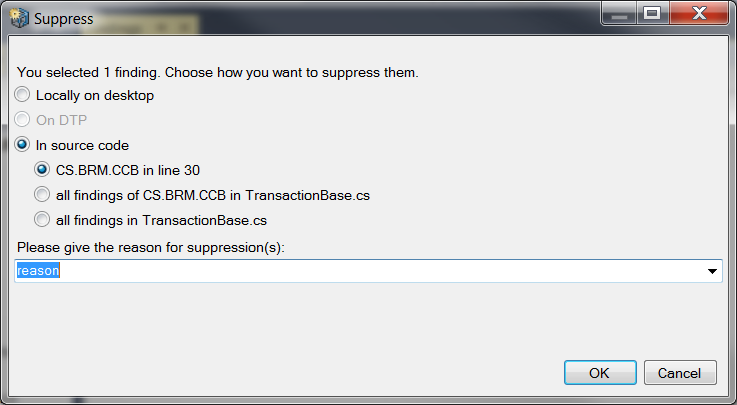
Enter a reason for suppressing the finding and choose where the suppression will be stored.
You can select one of the following storage options:
- Locally on desktop - The suppressions will be stored in your workspace or solution and used only during local analysis runs. If you select this option, it will suppress all occurrences of the selected finding in the file (the number of occurrences will be displayed in the dialog box).You can configure the custom location for storing local suppression with the suppression.local.dir option; see Configuration in Automation User Guide for details.
- On Development Testing Platform DTP- The suppressions will be stored in Development Testing Platform on DTP and shared with the team. You can suppress only findings that are already registered on DTP.
- In source code - The findings will be suppressed in code and shared across the team when checked in your source control system.
Info Conditional Content product: (dottest) product: (dottest) sv-attr:0A01020401598D973E6641760F8AF4E5 0A01020401598D973E684FA84B2F8FAC 
icon false title Suppressing Findings on DTP - The On DTP option is available only for findings that are already registered on DTP.
- Findings are suppressed in the subsequent analysis run.
- Click OK to complete the suppression.
Reviewing Suppressions
You can review suppressed findings and unsuppress the findings that have been saved locally on desktop.
product: (dottest) product: (dottest) sv-attr:0A01020401598D973E6641760F8AF4E5 0A01020401598D973E684FA84B2F8FAC Click Parasoft in the menu bar, choose
Conditional Content Options,
select Import Findings and Coverage and enable the Suppressed findings from local analysis or file option (see Customizing Import Options for details).
Open the DTP Findings view, choose Configure Contents from the menu and enable the Suppressed findings option (see 指摘事項ビューのカスタマイズ for details).
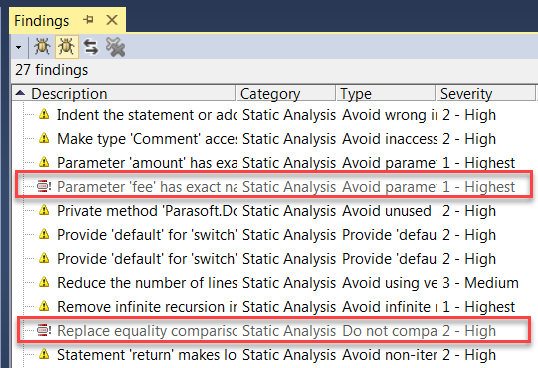
- Run analysis or import findings (see 指摘事項のインポート). The suppressed findings will be displayed in the DTP Findings view.

- You can right-click a finding and choose the Go To option to view the code that triggered the finding.
- Unsuppress findings if necessary. Suppressions
- Suppressions that are saved in the code need to be unsuppressed manually in the code. Suppressions stored in DTP can be unsuppressed in DTP. To unsupress
- To unsuppress locally suppressed findings, right-click on a finding or a group of selected findings and choose Unsuppress locally... from the menu:
Manually Suppressing Findings in Source Code
...
To define dotTEST suppressions directly in the C# and VB.NET source code:
...

- To unsupress findings on DTP, right-click on a finding or a group of selected findings and choose Unsuppress on DTP from the menu. Findings will be unsuppressed in the subsequent analysis run.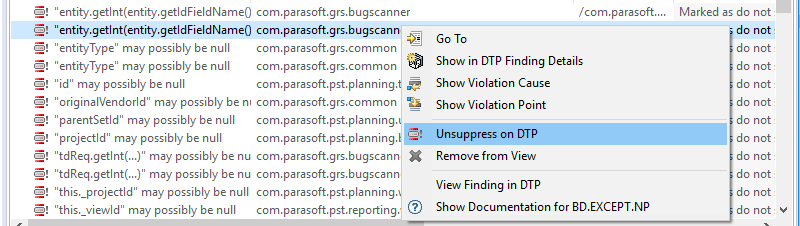
Manually Suppressing Findings in Source Code
You can suppress the reporting of findings directly in your source code. See Suppressing the Reporting of Findings for information about the syntax for defining suppression schemes
...
Save the modified code.
For example:
| Code Block |
|---|
private void eventMove(object o, EventArgs e)
{
 Move(+1); // parasoft-suppress CS.PUO
} |
...
.