...
SQL data sets are added to TDA when SQL responders are created from database recordings recordings. (see Creating SQL Responders from a Database Recording). SQL data sets are made up of one or more SQL templates, which are parameterized SQL statements that represent a set of data. You can review and interact with the data so that it can be used across testing scenarios.
Important Concepts and Terminology
See About the Data Repository for definitions of terms used in this section.
| Excerpt |
|---|
Main ToolbarThe main application toolbar contains functionality associated with the data repository, but additional functionality may appear in the toolbar depending on the current view.
You can perform the following actions in the main toolbar.
|

...
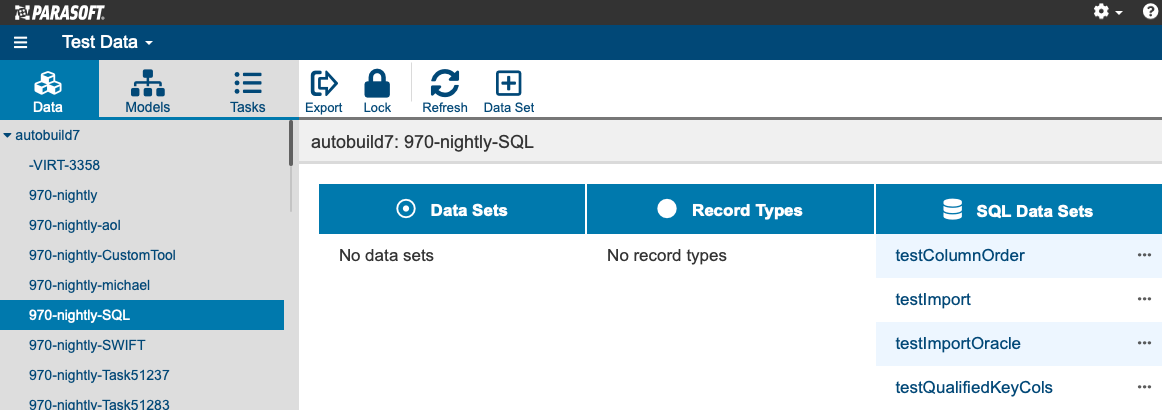
Click on a repository in the Data tab to open the data repository view. SQL data sets appear in the SQL Data Sets column.
You can perform the following actions in the data repository view.
...
- Choose Download from the ellipses menu and specify an encoding option (default is UTF-8).


- Click Download.
...
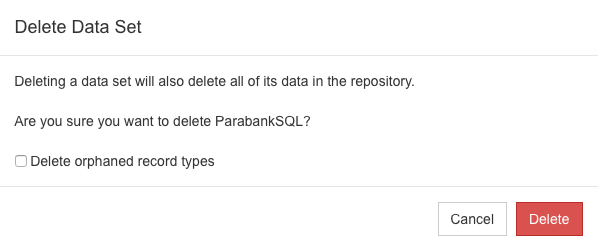
Choose Delete from the ellipses menu and confirm that you want to remove the data set when prompted. If the data set contains record types that do not reference or are not referenced by another component, you can enable the Delete orphaned record types option to ensure that the data set is completely removed.
Opening the SQL Template View
...
The SQL template view shows the JDBC URL for the first row in the table. If your application under test uses multiple databases, you can edit the JDBC URL to point to another database.
- Click the edit icon in the the SQL template list page.
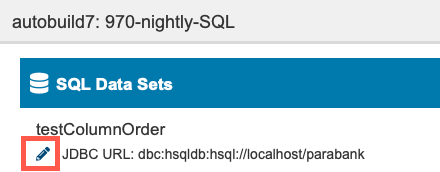
- Specify the new URL when prompted and click Save.

Using the Data Sets Toolbar
...
- Click the refresh button to load any changes to the SQL template.
- You can download the data set as a JSON file:
- Click the download icon and specify an encoding option (default is UTF-8).
- Click Download to proceed.
- Click the trash icon in the SQL Data Set toolbar and confirm that you want to delete the data set when prompted. If the data set contains record types that do not reference or are not referenced by another component, you can enable the Delete orphaned record types option to ensure that the data set is completely removed.
- Click the Select drop-down to show the search field. Enter a search term and press ENTER to search the data set. Searches return SQL templates that match the search terms exactly; enter keyword phrases to narrow your search.
...
Click the + button to add a new template.
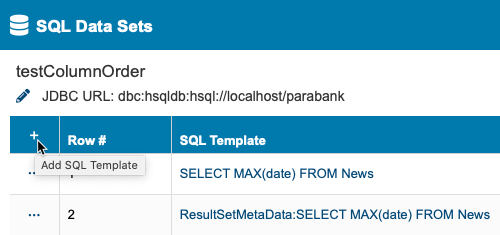
- Define your SQL template in the editor and click Save.

You can not cannot create a template that queries specific values. Any specific values you add will automatically be converted to parameterized values when you save the template.
An error icon will appear if your template references missing parameters. Mouse over the icon to view an error message.
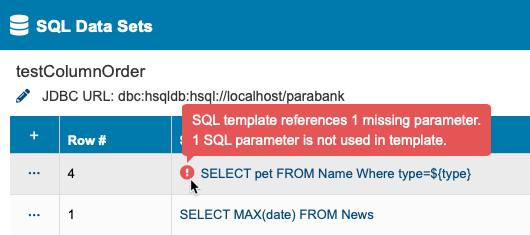
You can add the missing parameters or edit the template to fix the problem. See Adding and Modifying Parameters for instructions on specifying parameters for the template.
...
Click the ellipsis menu to access the editing functions.
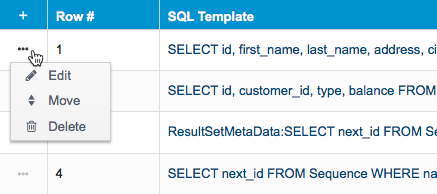
- Choose Edit to to change the SQL template. You can not cannot create a template that queries specific values. Any specific values you add will automatically be converted to parameterized values when you save the template. An error icon will appear if your template references parameters that do not exist (see Adding SQL Templates).
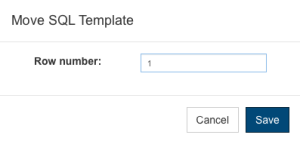
- Click Move and specify a destination row number when prompted. Specifying a number greater than the number of rows places the template at the end of the data set.

- Click Delete to remove the template from the data set.
...
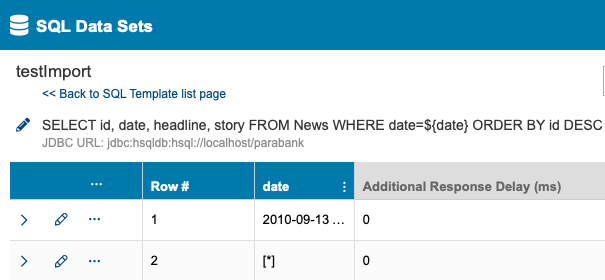
A template may contain several rows of parameters. The following template contains rows for the "name" parameter matching "Account" and "Transaction." The third column in the table, "Additional Response Delay (ms)," is a SQL responder configuration that allows you to adjust database response times. (see Modifying Response Times).
You can perform the following actions.
...
- Click on a template and click the ellipses menu.
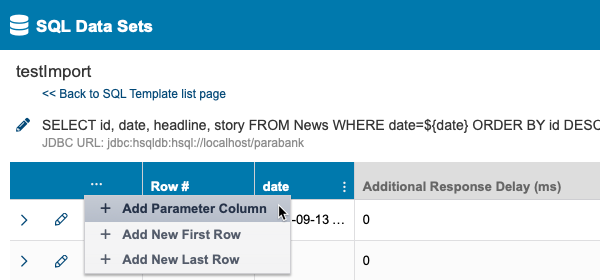
- Click Add Parameter Column and specify a parameter when prompted.
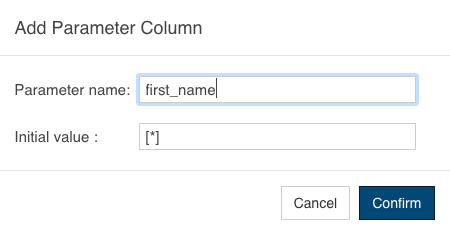
By default, new result sets an initial value of[*], which is a wildcard that matches any parameter value in the database, but you can specify your own initial value. - Click Confirm.
If you add a parameter column that does not appear in the template, you will see an error icon next to the template, as well as an error icon at the missing parameter column. Mouse over either icon for additional information.

Adding a Row of Parameter Values
...
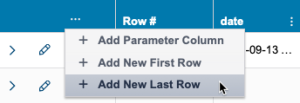
- Click on a template and click the ellipsis menu for the parameter.
Click Add New First Row or Add New Last Row to add a new row.Anchor add-first-last-parameter-row add-first-last-parameter-row 
- Click the ellipses menu in the new parameter to add additional parameter rows directly after the currently selected row.

You can also add new first or last rows by repeating step 2.
...
Click the edit icon to and change the value in the Row # column to move the parameter, as well as change the Additional Response Delay Delay. (also see Modifying Response Times). When specifying a value for a SQL parameter, you can use the the [*] wildcard to match any value for the parameter in the database.
The edit button becomes a save button and the ellipsis menu icon becomes a cancel button in edit mode.
...
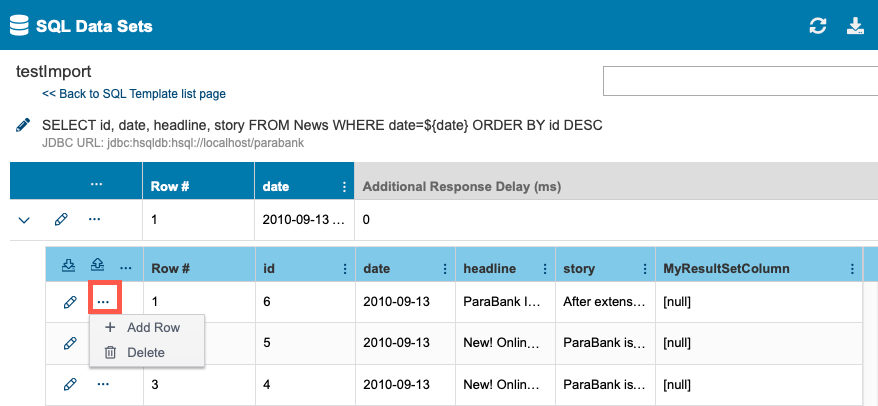
You can expand rows in the template to view the result sets associated with the SQL query.

You can also edit the SQL template clicking the edit button when the template is expanded.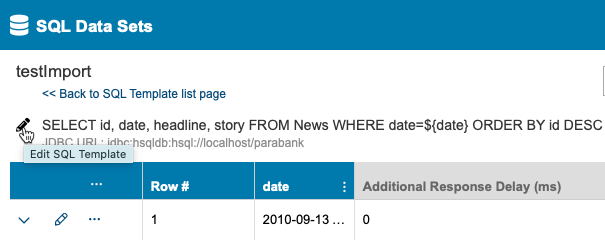
Adding and Modifying Result Sets
...
- Click the ellipsis menu and choose Add New First Row or Add New Last Row to add rows or Add Result Set Column to add columns for data.

If you are adding a new column, specify a name for the column when prompted. By default, new result sets an initial value of [null], but you can specify a different value.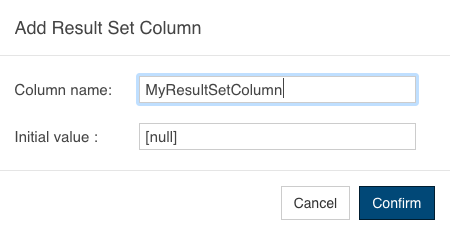
- Click Confirm.
- Click the ellipses menu in the new row and click Add Row to add additional rows for data directly after the currently selected row or Delete to remove the row.
- Click the edit button and specify a new row number or to modify a value in a result set column.
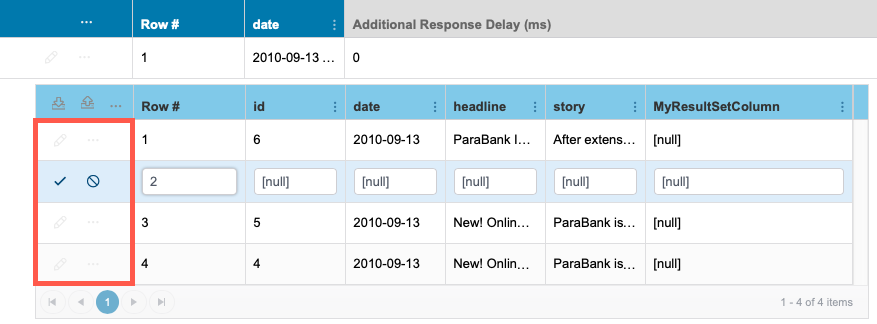
The edit button becomes a save button and the ellipsis menu icon becomes a cancel button in edit mode.
...
You can download SQL result sets in CSV format. This enables you to save a local copy of the results, make any modifications, and re-upload the changed data.
- Click the download icon.

- Choose your file options when prompted. By default, the downloader encodes characters in UTF-8, but you can click in the Encoding field to choose a different encoding option.

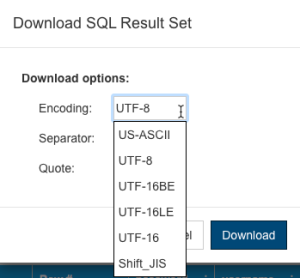
- Click Download. The CSV file will be saved to your downloads folder prepended with the name of the SQL data set.
...
- Click the upload icon and browse for the CSV file containing the results set data you want to upload and set your file options. Character encoding, separator character, and quotation mark character are set to common values by default. If your file has a different encoding or uses different separator and quotation mark characters, click in the respective fields and set them to the correct values. Enable the Trim spaces option to remove extraneous spaces from the data.

- Click Confirm when ready. The current results set data will be overwritten by the contents of the uploaded CSV file.
...