| Table of Contents | ||
|---|---|---|
|
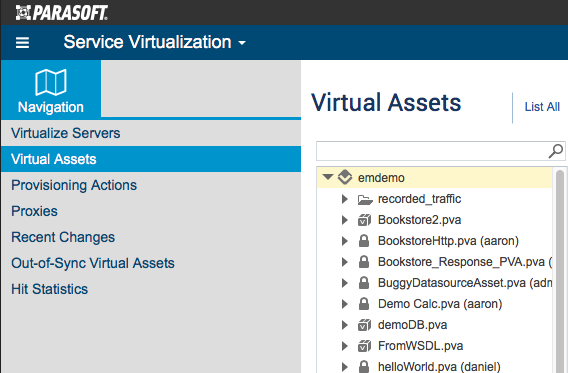
You can add virtual assets and responder suites on a connected Virtualize server directly from the CTP Virtual Assets page. To access this page, open the Service Virtualization module.
Creating Virtual Assets from an API Description
You can use CTP create virtual assets (.pva files) from an OpenAPI, RAML, or WSDL API description:
- In the left pane, select the server or folder where you want the new virtual asset added.
- Choose Create Virtual Asset from the page-level action menu.

- (Optional) Modify the name of the newly-created virtual asset.
- Choose a description type from the Create drop-down menu. You can choose the following types:
- RAML: To automatically-generate a .pva based on the endpoints found in a RAML description, set Create to From RAML, enter the absolute URI at which to find the RAML definition, then click Create Asset (or Save, if you have Virtualize 9.9.x). RAML 0.8 and 1.0 are supported.
- OpenAPI (Swagger): To automatically-generate a .pva based on the endpoints found in a Swagger description, set Create to From Swagger, enter the absolute URI at which to find the Swagger definition, then click Create Asset (or Save, if you have Virtualize 9.9.x). Swagger Specification 1.0 - 2.0 is supported.
- WSDL: To automatically-generate a .pva for the operations defined in a WSDL, set Create to From WSDL, specify the WSDL location, then click Create Asset (or Save, if you have Virtualize 9.9.x).
The .pva (included any generated responders) will be added to the specified Virtualize server. You can review the added responders by selecting the associated tree node.
If the .pva was created from a RAML or Swagger definition, the following items will be created and configured:
- A .pva file will be created on the designated Virtualize server.
- One Message Responder configured for each resource/method/status code in the definition. The responder's correlation, status code, and response are configured accordingly. A sample message (if available) is included in the response. If the service definition includes a JSON schema, a sample response is constructed from that JSON schema.
If the .pva was created from a WSDL, the following items will be created and configured:
- A .pva file will be created on the designated Virtualize server.
- Message Responders for the operations and fault messages defined in the WSDL.
Video Tutorial
| Vimeo | ||||||
|---|---|---|---|---|---|---|
|
Creating Virtual Assets from Traffic (Virtualize 9.10)
Creating Virtual Assets from Traffic (Virtualize 9.9.x)
If you have Virtualize 9.9.x connected to CTP, you can create virtual assets (.pva files) from traffic captured by a Parasoft proxy driver recording or another utility as follows:
- In the left pane, select the server or folder where you want the new virtual asset added.
- Choose Create Virtual Asset from the page-level action menu.
- (Optional) Modify the name of the newly-created virtual asset.
- Set Create to From Traffic.
- Specify the template or data repository settings, then click Save.
| Info | ||
|---|---|---|
| ||
|
The .pva (included any generated responders) will be added to the specified Virtualize server. You can review the added responders by selecting the associated tree node. The following items will be created and configured:
- A .pva file will be created on the designated Virtualize server.
- A Message Responder with parameterized elements as well as preconfigured responder correlation and data source correlation will be added.
- A Data Repository with applicable data sets and record types will be added. One data set will be added per message "group" identified by analyzing the traffic.
- A repository data source will be added for each added data set and the Message Responder will be configured to use this data source.
Adding Empty Virtual Assets
To add a new empty virtual asset (.pva) from CTP:
- In the left pane, select the server or folder where you want the new virtual asset added.
- Choose Create Virtual Asset from the page-level action menu.
- (Optional) Modify the name of the newly-created virtual asset.
- Leave Create set to Empty, then click Create Asset (or Save, if you have Virtualize 9.9.x). No additional steps are needed here (you can add responders later).
Adding Responder Suites
To add an empty responder suite within an existing virtual asset (.pva file):
- In the left pane, select the .pva or responder suite where you want the new responder suite added.
- Choose Add Responder Suite from the page-level action menu.

- (Optional) Modify the name of the newly-created responder suite.
The responder suite will be added to the specified Virtualize server within the designated .pva file.
Adding Message Responders
You can add Message Responder tools from the CTP interface. Additional responders can be added from Virtualize desktop.
For details, see Adding and Editing Message Responders.