...
| Table of Contents | ||
|---|---|---|
|
Introduction
You can change the default properties of existing static analysis rules, such as name, severity, category, and ID, to help you achieve your organization's development policies and goals. For example, you can create new rule categories specifically for your company, such as "Company Standards" or "Company Safety Rules," and remap the rules shipped with DTP to these new categories. You can also change the rule severities to target specific constructs. When rule properties are modified, the rule is considered "mapped" in DTP.
...
You can remap rule properties in Parasoft code analysis and test execution tools (C/C++test, dotTEST, Jtest) so that the local analysis executes the custom rules (see Parasoft tool manuals on https://docs.parasoft.com for details). You can also centralize rule property modifications in DTP so that tools connected to DTP will use them.
Accessing the Rule Properties
...
Panel
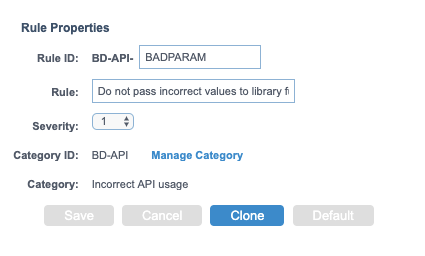
The Rule Properties panel is the interface for configuring rule properties. The panel is located in the rule map configuration screen under the Rule Customization tab.
...
- Click in the Rule ID field to edit rule ID.
- Click in the Rule field to edit the rule header (rule name).
- Choose a severity from the Severity menu to change the severity of the rule.
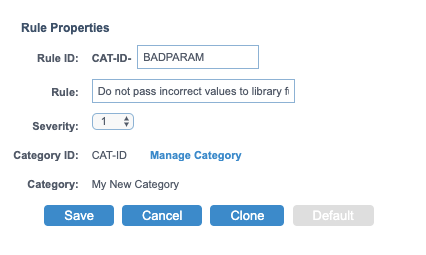
- Click Manage Category to open the interface for managing rule categories.
- Click Clone to create a duplicate of the rule. Cloned rules use the same internal logic as the original rule. Use this option to customize rule properties while preserving the properties of the original rule. Cloned rules automatically appear in all test configurations and can be activated for execution (see Configuring Test Configurations).
- When you change rule properties, the original values are also displayed. You can click Default to reset the rule properties to their original values (see Reverting Rules to Default Categories).
Managing Rule Categories
Click the Manage Category link in the Rule Properties panel to open the editor.
...
Creating New Categories
- Click New Category.
- Specify a Category ID and Category Name when prompted.

- Click Save to add the new category.
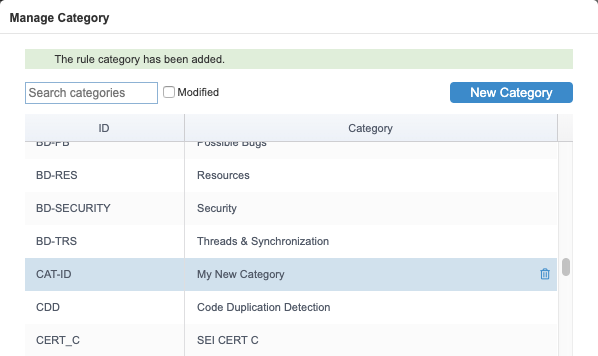
- Click Assign to assign the selected rule to the new category.

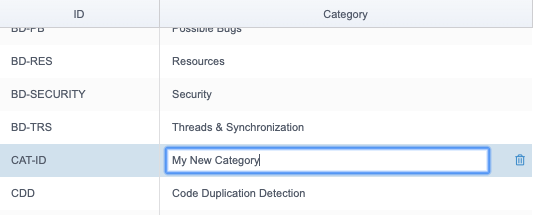
You can click in the Category field to change the category name. The category name is saved after leaving the text field. Changing the category name affects all the rules in this category.
You can click the trash icon to delete the category. You cannot delete categories if rules are currently assigned to it. Assign rules to their default categories before (see #Reverting Rules to Default Categories) to un-assign rules from the category before deleting it.
Assigning Rules to Categories
- Choose a rule from the table in the Rule Customization tab and click Manage Category in the Rule Properties panel.

- Choose a category and click Assign. You can use the search field, as well as enable the Modified option to filter for custom categories.

- Click Save in the Rule Properties panel to preserve the change.
Reverting Rules to Default Categories
You can revert rules to their default categories.
...