...
Importing Existing WebKing Load Tests
To import existing load tests from a WebKing .tst file:
- Import that .tst file into SOAtest (File> New> Project from Existing SOAtest or WebKing Test Suites).
- Open the Load Test perspective (Window> Open Perspective> Other> Parasoft Load Test).
- Configure and validate the test suite for load testing as described in the Load Testing section of the SOAtest User’s Guide.
- Open Parasoft Load Test
- Choose File> Open.
- Select the appropriate .tst file.
The load test configuration and functional tests will then be imported into Load Test. The load test project will be automatically configured as needed. The "component archive" type will be set to "Parasoft SOAtest Component", the .tst file from which the load test configuration was imported will be set as the current "SOAtest project" in the component configuration panel (available by selecting the main Profiles node), and the appropriate tests will be mapped to a profile.
You can select and run a load test scenario after opening such project. No additional configuration is required, but you are welcome to adjust the configuration as described in the following sections:
Creating Load Tests for SOAtest Functional Tests
| Info | ||
|---|---|---|
| ||
For a demonstration of how to create load tests for service and web functional tests, see Creating and Performing a Load Test (for Web and/or Service Functional Tests). |
...
- If the functional test scenario contains Web functional tests, configure and validate the test suite for load testing as described in the Load Test section of the SOAtest User’s Guide.
- In Parasoft Load Test, do one of the following:
- To create a new load test project:
- Choose File> New> Load Test Project or click the New Load Test toolbar button.
- Select SOAtest, then complete the Load Test Configuration wizard as described in Completing the Load Test Configuration Wizard.
- To add the functional tests to an existing load test project: Open that load test file (File> Open).
Info title Important: Specify Which Functional Tests to Use for Load Testing Before you can run the load test, you must first indicate which SOAtest functional tests should be used for load testing. You can do this in two places:
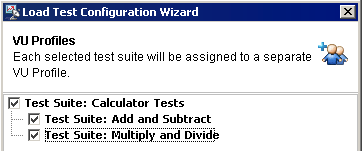
• In the Load Test Configuration wizard’s VU Profiles page.
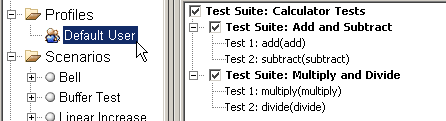
• In one of the Profile> [Virtual User] configuration panels.
- To create a new load test project:
- (Optional) Select the top-level Profiles node in the Load Test tree, then customize environments, data source options, and setup/teardown options as needed.
- For details on environment configuration, see Configuring Setup/Teardown Test Execution.
- For details on data source options, see Configuring Data Source Usage.
- For details on setup/teardown options, see Configuring Setup/Teardown Test Execution.
- (Optional) Modify additional settings as needed. For details, see:
...
| Info | ||
|---|---|---|
| ||
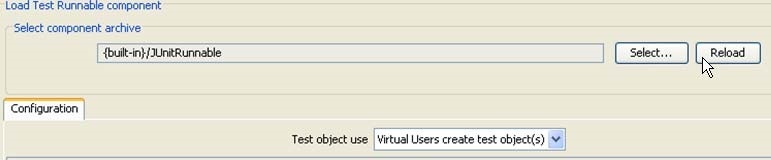
If you changed any of the .jar class path elements, you need to reload the component for these changes to take effect. To do this, just click the Reload button. Be sure to save your project before reloading the component; unsaved changes will be lost upon component reloading.
|
Creating Load Tests Driven by a Jar File
| Info | ||
|---|---|---|
| ||
For a demonstration of how to create load tests driven by a jar file, see Creating Custom Load Test Components. |
...
Immediately after a load test begins, the load test details display within the Graph tab in the Load Test Progress tab of the right GUI panel. This Graph tab allows you to view graphical data pertaining to the load test in progress.
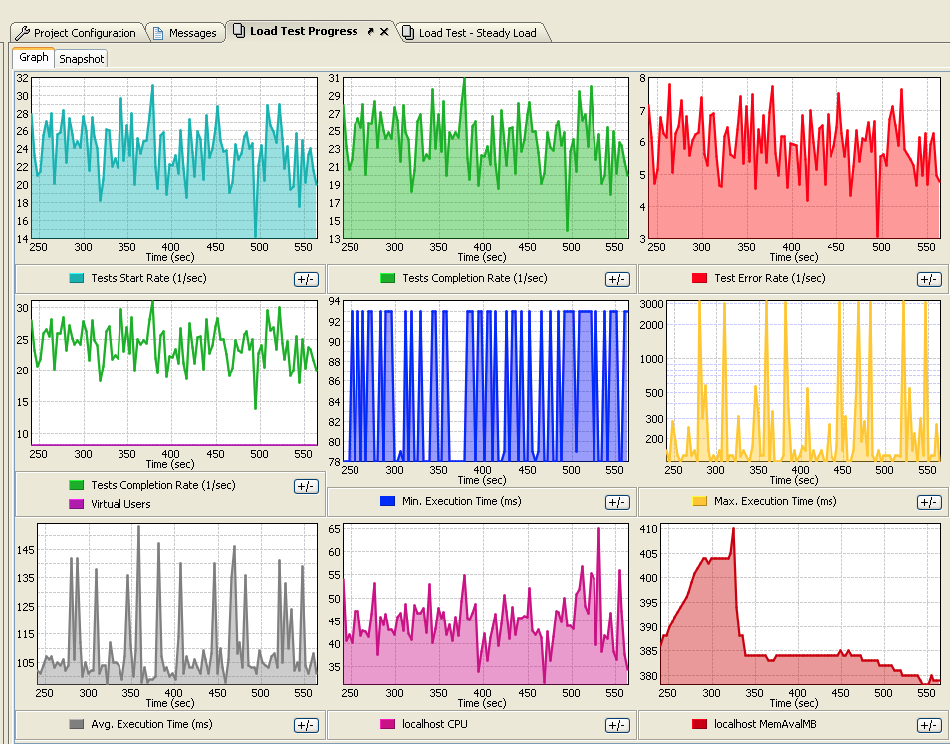
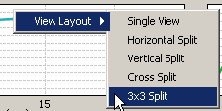
You can change the number and layout of graphs shown by right-clicking in the Graphs tab, then choosing one of the available layout options.
The following graphs display in the Graph tab legend:
...
To fill in a graph area with its designated color, check the Fill graph areas check box.
To customize load test progress graph colors:
- Right-click the desired bar in the Graph tab legend and select ChangeColor from the shortcut menu. The Selectcolor dialog box opens.
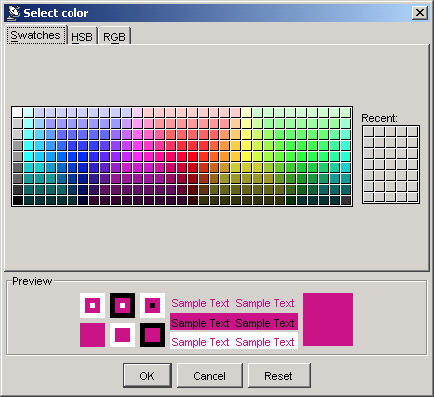
- Manipulate the color scheme as needed in the dialog box and click OK.
To dynamically modify the virtual user count or profile weights while a load test is running:
- Select the current scenario from the Scenarios node of the Load Tests tree. The Users and Profiles tabs display in the right GUI-panel with the Users tab selected.
The grayed-out sections of the tabs signify the elapsed time of the load test. You cannot modify any part of a graph curve that has been grayed-out.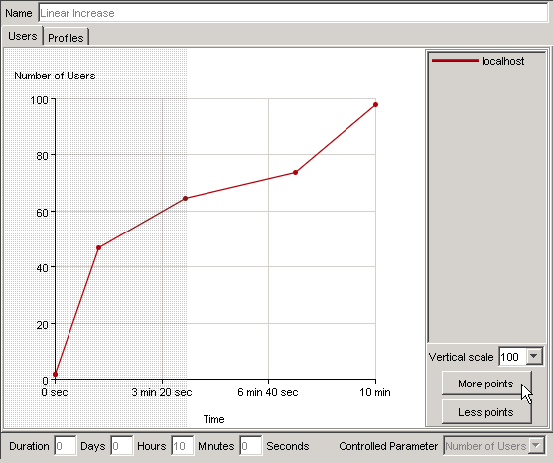
- Select the Users tab and modify the graph curve as needed by selecting from the Vertical scale drop-down menu, clicking the More points and Less points buttons, or by dragging and dropping the curve with your mouse. You cannot alter the duration of the load test while it is in progress.
- Select the Profiles tab and modify the graph curve as needed by selecting from the Vertical scale drop-down menu, clicking the More points and Less points buttons, or by dragging and dropping the curve(s) with your mouse. You cannot alter the duration of the load test while it is in progress.
For more information on customizing the Users or Profiles tabs, see Customizing Test Suite Scenarios - Return to the Load Test Progress graph by selecting Window> Load Test Progress.
...
To view execution details after the test has completed:
...